Looking for a delightful Gluten Free Rice Krispies Treats that satisfies your sweet tooth while being simple to prepare? Enter Gluten Free Rice Krispies Treats—a classic dessert reimagined for those with dietary restrictions. Whether you’re hosting a party, packing a lunchbox snack, or craving something delicious, this recipe covers you.
In this post, you’ll discover how to make these marshmallow-packed bites with minimal effort and maximum flavour. Not only will you learn the step-by-step process, but you’ll also get expert tips, fun variations, and essential storage instructions. Even if you’re new to gluten-free cooking, this recipe is a perfect place to start. Let’s start creating a treat that will impress both gluten-free eaters and dessert lovers alike!
Explore more gluten free recipes like:
The Ultimate Gluten-Free Apple Cake Recipe
Why You’ll Love This Recipe
These Gluten Free Rice Krispies Treats are everything you want in a dessert: simple, versatile, and utterly delicious. Here’s why they’re bound to become a household favourite:
- Effortless to Make : With only a handful of ingredients and no need for an oven, this recipe comes together quickly.
- Naturally Gluten-Free : You get all the classic flavours of traditional Rice Krispies to treat without gluten by using gluten-free rice cereal and marshmallows. No more missing out on your favourite childhood snack!
- Perfect for Any Occasion : These Gluten Free Rice Krispies Treats are a hit at parties, school events, or even as an afternoon pick-me-up. Their chewy texture and sweet flavour make them universally appealing.
- Highly Customizable : From adding chocolate chips to drizzling peanut butter or sprinkling colourful toppings, these treats are a blank canvas for your creativity.
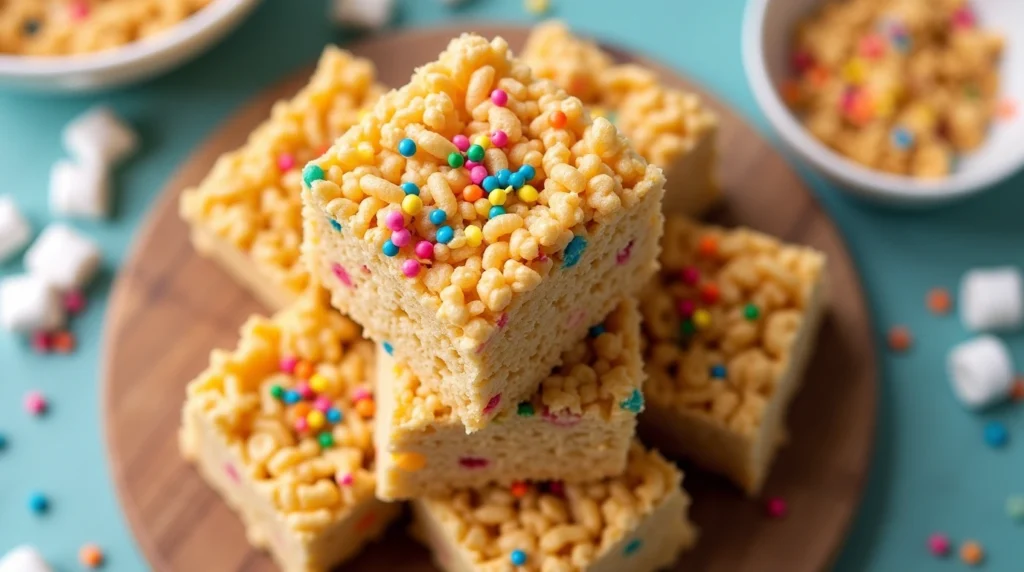
Ingredients
To make these Gluten Free Rice Krispies Treats, you’ll need just a few simple ingredients:
- Gluten-free rice cereal (ensure it’s certified gluten-free)
- Marshmallows (check labels for gluten-free certification)
- Butter or dairy-free alternative
- Optional mix-ins: Chocolate chips, sprinkles, or nuts
How To Make Gluten Free Rice Krispies Treats
Making Gluten Free Rice Krispies Treats is as satisfying as it is simple. With just a few basic steps, you’ll have a dessert that tastes as good as it looks. Here’s how to do it:
Step 1: Melt the Butter and Marshmallows
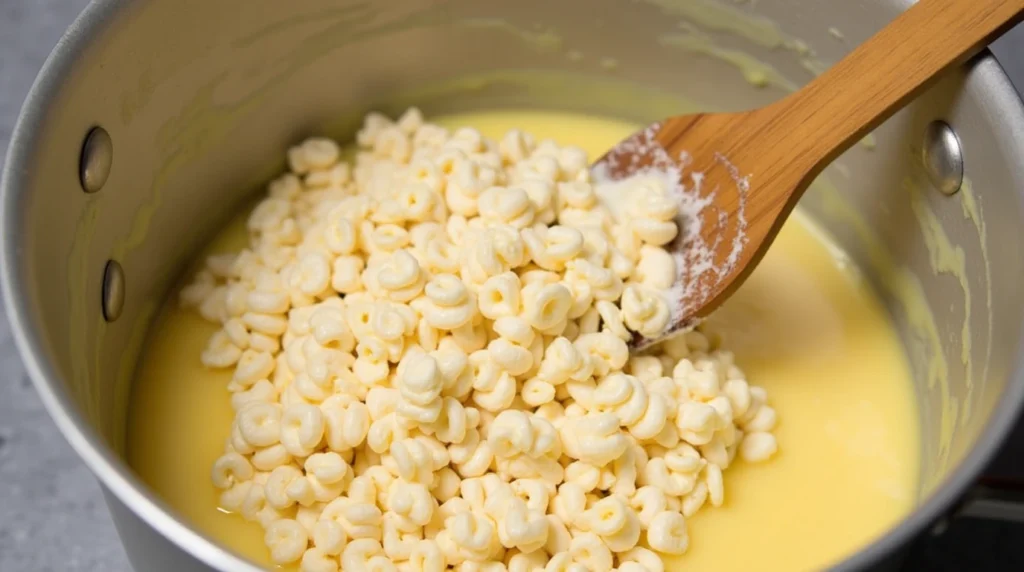
Start by grabbing a large, heavy-bottomed pot. Melt the butter over low heat, stirring gently as it softens. Once melted, add your marshmallows. Keep the heat low and stir continuously—this ensures the marshmallows melt evenly into a velvety, gooey mixture. The key is patience; rushing this step can result in uneven texture.

Step 2: Add the Cereal
Remove the pot from heat and immediately pour in your gluten free rice cereal. Using a sturdy spatula, fold the cereal into the marshmallow mixture. Keep mixing until every piece of cereal is fully coated. Don’t worry if it looks messy—this is part of the fun!
Step 3: Press Into the Pan
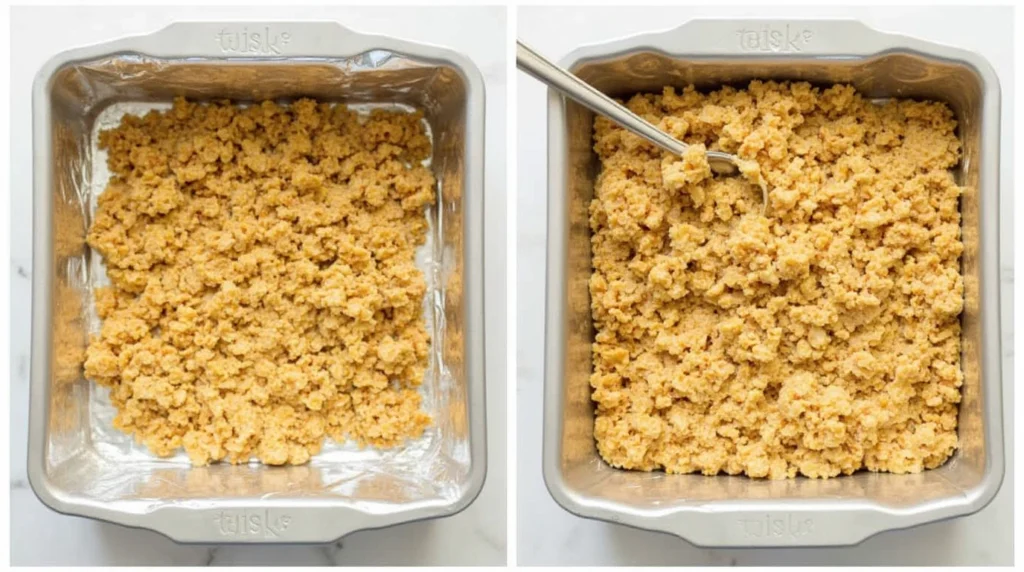
Grease a square baking pan (or line it with parchment paper for easy removal). Transfer the sticky cereal mixture to the pan. Use a spatula, the back of a spoon, or wax paper to press it down firmly and evenly. Aim for a compact, level layer, but don’t compress it so much that it loses its signature chewiness.
Step 4: Let It Set
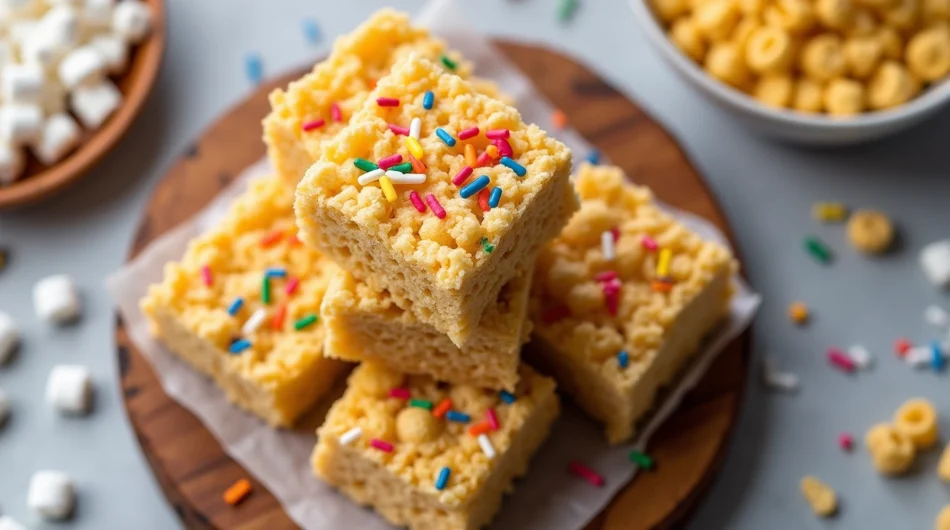
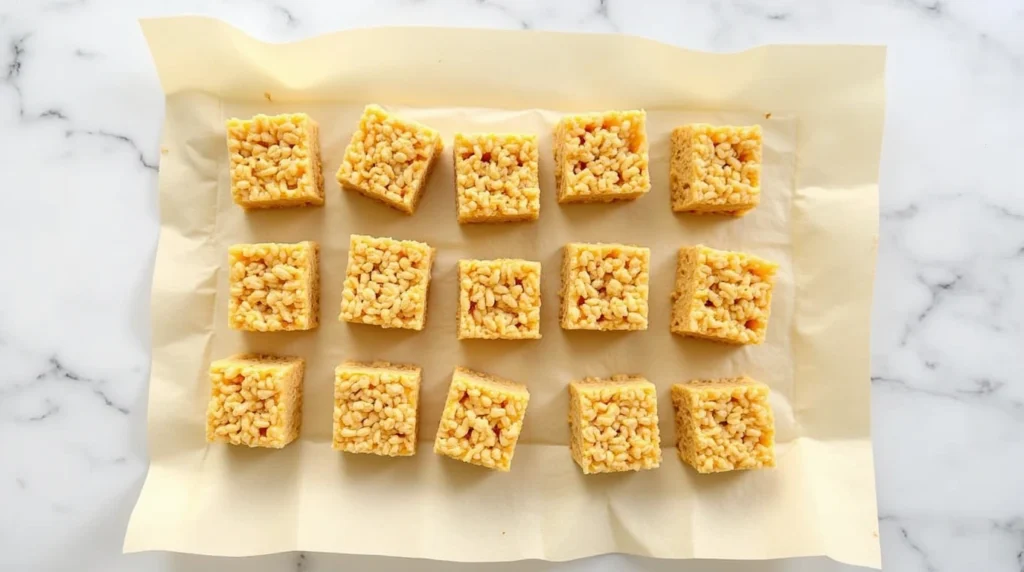
The hardest part? Waiting! Leave the pan at room temperature for 30 minutes to cool and set. Once firm, use a sharp knife to slice your treats into squares. Voilà—your Gluten Free Rice Krispies Treats are ready to enjoy!
These steps are simple enough for anyone, even kids, to follow. Plus, they make cleanup a breeze—just one pot and a pan! Grab a square and savour the chewy, marshmallow goodness you just created.
Helpful Tips
Tips for Perfect Gluten-Free Rice Krispies Treats
When it comes to making Gluten Free Rice Krispies Treats, a few thoughtful tips can make all the difference between « just okay » and absolutely irresistible. Here’s how to nail it every single time:
- Use Fresh Marshmallows : This might seem like a small detail, but trust me, it’s huge. Stale marshmallows? They’re clumpy, resistant to melting, and can leave you with a gloopy mess. Fresh marshmallows, on the other hand, melt into a smooth, luscious goo that evenly coats every piece of cereal. Pro tip: If your marshmallows have been sitting in the pantry for a while, do a quick squish test—if they’re firm or dry, it’s time for a new bag.
- Work Quickly : The moment your marshmallows are melted and mixed with butter, it’s go-time! This sticky, magical mixture sets faster than you might expect. Quickly stir in your cereal until everything is evenly coated, then immediately transfer it to your prepared pan. No time to second-guess yourself—it’s all about speed and confidence! If you hesitate, the mixture might start to harden, making it trickier to spread.
- Grease Everything (Seriously, Everything) : Let’s face it: marshmallows are basically sugar glue. If you don’t grease your tools (and maybe even your hands), you’ll find yourself wrestling with the mixture. A little butter or oil on your spatula, the sides of your pot, or even your fingers can work wonders. Bonus tip: Grease a sheet of parchment paper to press the mixture into the pan cleanly and evenly—it’s a game-changer.
Variations or Substitution Ideas
Making Gluten Free Rice Krispies Treats is only the beginning. Here are some fun, creative ways to elevate your treats and add a personal twist. Whether you’re a chocolate fanatic, peanut butter lover, or someone looking for a healthier option, there’s something for everyone!
Chocolate Lovers : Chocolate makes everything better, doesn’t it? Amp up the indulgence by stirring in mini chocolate chips while the mixture is still warm but not too hot (this way, they melt slightly but still hold their shape). If you’re feeling extra fancy, drizzle melted chocolate over the top of the pressed mixture. You can even use white or dark chocolate for a sophisticated flair. The result? A rich, chocolaty treat that’s impossible to resist.
Peanut Butter Bliss : For a nutty twist that adds depth of flavor, mix in a few tablespoons of creamy peanut butter with the melted marshmallows. It blends perfectly with the sweetness, creating a gooey, slightly salty treat that will have peanut butter fans swooning. For an even nuttier vibe, sprinkle some crushed peanuts on top before the mixture sets.
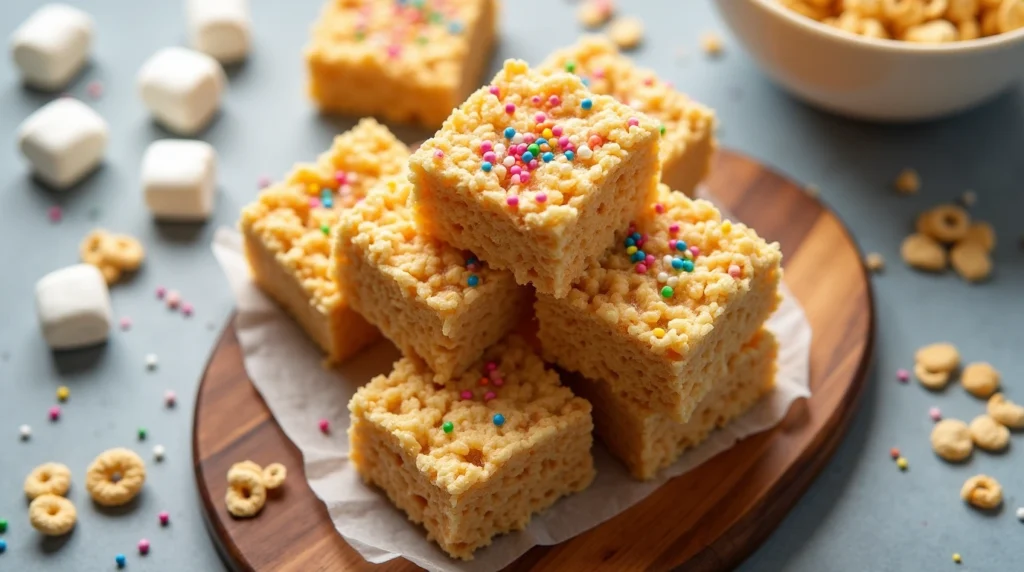
Colorful Fun : Bring a burst of joy and color to your treats! Stir in gluten-free sprinkles, M&Ms, or even small pieces of gummy candy for a playful, kid-approved version. These vibrant additions make your treats perfect for birthday parties or festive occasions. Bonus: Kids love helping with this step!
Storage and Reheating Instructions
Proper storage is the secret to keeping your Gluten Free Rice Krispies Treats as delicious as the day you made them. Whether you’re planning to enjoy them over a few days or save some for later, here’s how to do it right:
- Short-Term Storage : These Gluten Free Rice Krispies Treats are best enjoyed fresh, but they’ll stay perfectly chewy for up to 3 days if stored correctly. To prevent them from sticking together, layer parchment paper between each row. No fridge is needed—keep them in a cool, dry spot.
- Long-Term Storage : Want to make a batch ahead of time or savour leftovers later? These treats freeze beautifully! Wrap each square individually in plastic wrap or foil to lock in freshness, then place them in a freezer-safe bag or container. When you’re ready to indulge, let them thaw at room temperature for an hour—no reheating is required.
- Reheating : If your treats have turned a little firmer than you’d like, there’s an easy fix. Pop a square into the microwave for 5–10 seconds, and it will be as soft and gooey as the day you made it. Just be careful not to overheat—it’s better to err on caution and reheat in short bursts.
Following these tips ensures that every bite of your Gluten Free Rice Krispies Treats is as delightful as the first!
Frequently Asked Questions (FAQs)
Can I make this Gluten Free Rice Krispies Treats dairy-free?
Absolutely! Swap the butter with a dairy-free alternative like coconut oil for a hint of tropical flavour or vegan butter to keep that rich, buttery taste intact. No one will guess the difference!
How can I ensure my treats stay soft and irresistible?
- Storage matters: Keep your treats in an airtight container at room temperature to lock in moisture and freshness.
- Gentle touch: Aim for evenness without overpacking when pressing the mixture into the pan. A light hand ensures they stay soft and pillowy rather than dense and tough.
- Fresh ingredients: Always use fresh marshmallows—they melt better and help create that gooey texture everyone loves.
Gluten Free Rice Krispies Treats
Ingrédients
- Gluten-free rice cereal
- Marshmallows
- Butter or dairy-free alternative
- Optional mix-ins: Chocolate chips, sprinkles, or nuts
Instructions
- Step 1: Melt the Butter and MarshmallowsStart by grabbing a large, heavy-bottomed pot. Melt the butter over low heat, stirring gently as it softens. Once melted, add your marshmallows. Keep the heat low and stir continuously—this ensures the marshmallows melt evenly into a velvety, gooey mixture. The key is patience; rushing this step can result in uneven texture
- Step 2: Add the CerealRemove the pot from heat and immediately pour in your gluten free rice cereal. Using a sturdy spatula, fold the cereal into the marshmallow mixture. Keep mixing until every piece of cereal is fully coated. Don’t worry if it looks messy—this is part of the fun!
- Step 3: Press Into the PanGrease a square baking pan (or line it with parchment paper for easy removal). Transfer the sticky cereal mixture to the pan. Use a spatula, the back of a spoon, or wax paper to press it down firmly and evenly. Aim for a compact, level layer, but don’t compress it so much that it loses its signature chewiness
- Step 4: Let It SetThe hardest part? Waiting! Leave the pan at room temperature for 30 minutes to cool and set. Once firm, use a sharp knife to slice your treats into squares. Voilà—your Gluten Free Rice Krispies Treats are ready to enjoy!These steps are simple enough for anyone, even kids, to follow. Plus, they make cleanup a breeze—just one pot and a pan! Grab a square and savour the chewy, marshmallow goodness you just created.
Notes
- Use Fresh Marshmallows : This might seem like a small detail, but trust me, it’s huge. Stale marshmallows? They’re clumpy, resistant to melting, and can leave you with a gloopy mess. Fresh marshmallows, on the other hand, melt into a smooth, luscious goo that evenly coats every piece of cereal. Pro tip: If your marshmallows have been sitting in the pantry for a while, do a quick squish test—if they’re firm or dry, it’s time for a new bag.
- Work Quickly : The moment your marshmallows are melted and mixed with butter, it’s go-time! This sticky, magical mixture sets faster than you might expect. Quickly stir in your cereal until everything is evenly coated, then immediately transfer it to your prepared pan. No time to second-guess yourself—it’s all about speed and confidence! If you hesitate, the mixture might start to harden, making it trickier to spread.
- Grease Everything (Seriously, Everything) : Let’s face it: marshmallows are basically sugar glue. If you don’t grease your tools (and maybe even your hands), you’ll find yourself wrestling with the mixture. A little butter or oil on your spatula, the sides of your pot, or even your fingers can work wonders. Bonus tip: Grease a sheet of parchment paper to press the mixture into the pan cleanly and evenly—it’s a game-changer.

