Table des matières
If you’re anything like me, there are days when you just don’t have the time or energy to put into making a complicated dessert. But, let’s be honest, there’s always time for cake. This is where the glorious « dump cake » comes in a dessert that takes minimal effort yet delivers maximum flavor. Today, I’m going to share one of my absolute favorite variations: Strawberry Cheesecake Dump Cake. It’s a mouthful to say, but once you try it, you’ll be craving this mouthful again and again!
Whether you’re a seasoned baker or someone who dreads the idea of turning on the oven, this strawberry cheesecake dump cake is the perfect recipe to have in your arsenal. It’s so simple that you just « dump » all the ingredients into a pan, bake it, and voila! You’ll have a delicious, sweet, and slightly tangy dessert that tastes like you spent hours in the kitchen.
Why You’ll Love This Strawberry Cheesecake Dump Cake
Before we jump into the ingredients and steps, here’s why you should give this strawberry dump cake recipe a try:
Quick and Effortless :
- Just Dump and Bake: This cake is super easy, with no complicated steps—just layer the ingredients, and it’s oven-ready in no time.
- Minimal Time Needed: This dessert requires about 10 minutes of prep time. It is perfect when you want something delicious but have no spare hours.
Simple Ingredients, Big Flavor :
- Common Pantry Staples: You probably already have most of the ingredients: canned strawberry pie filling, cream cheese, cake mix, and butter.
- Classic Flavor Layers: The sweet, juicy strawberries balance the creamy, rich cheesecake layer, and the buttery topping ties everything together for a seriously satisfying dessert.
Crowd-Pleasing Favorite :
- Perfect for Gatherings: Whether it’s a family dinner, potluck, or celebration, this dessert serves around 10 to 12 people and will surely be a hit.
- Universally Loved: This dessert appeals to all ages because it balances fruity, creamy, and buttery flavors.
Textures You’ll Love :
- Irresistible Layers: Every bite gives you juicy strawberries, a smooth cheesecake layer, and a crispy buttery cake topping.
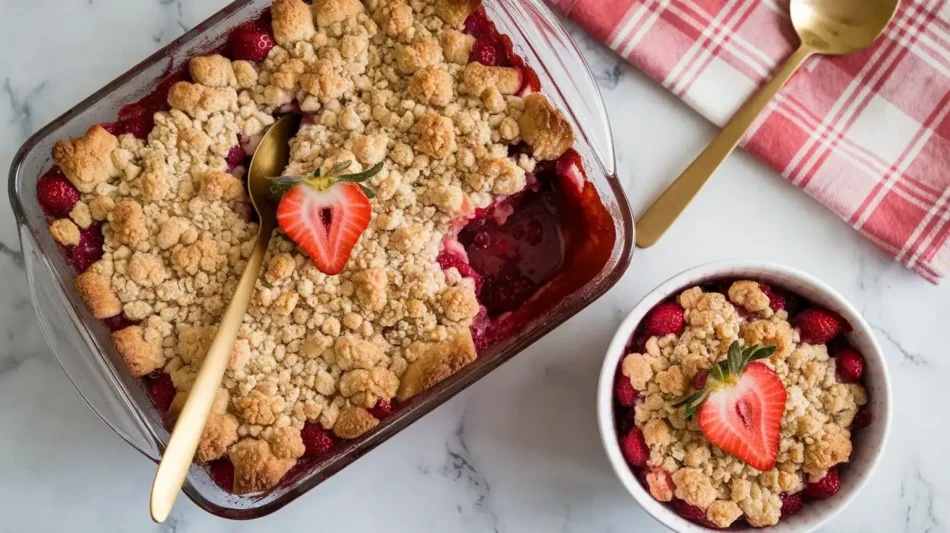
- Rustic and Beautiful: With its red, white, and golden-brown layers, this cake is as good-looking as it is tasty.
Easy to Customize :
- Fresh or Canned Strawberries: If you have fresh strawberries, use them; just add a bit of sugar and cornstarch for consistency.
- Different Cake Mixes: You can swap yellow cake mix with vanilla or chocolate for a fun twist. Extra Toppings: For added crunch, sprinkle chopped nuts, graham cracker crumbs, or shredded coconut on top before baking.
The Ultimate Comfort Desser :
- Perfect for Cozy Moments: Serve this cake warm, and it’s perfect for a quiet, cozy night.
- Great with Ice Cream: A scoop of vanilla or whipped cream turns it into a decadent treat.
Reliable and Foolproof :
- Great for Beginners: This cake is a perfect introduction to baking. You don’t need any special skills to make it delicious.
- Consistent Results: This recipe comes out perfectly every Time, so you can count on a beautiful, rustic dessert with minimal effort.

Ingredients for Strawberry Cheesecake Dump Cake
Now, let’s talk about what you need. Here’s the list of simple ingredients for your strawberry cheese dump cake:
- 1 box of yellow cake mix (You could also use a white cake mix, but yellow adds a little extra richness.)
- 2 cans of strawberry pie filling (This will give the cake its sweet and fruity base.)
- 1 package (8 oz) of cream cheese (Let it soften to room temperature for easier spreading.)
- 1/2 cup butter (Melted—because butter makes everything better!)
- 1 teaspoon vanilla extract (Optional, but it adds a nice depth to the flavors.)
- 1/4 cup sugar (Optional, to sprinkle on top for a slightly caramelized crust.)
- Whipped cream or vanilla ice cream (For serving—because who can resist?)
And that’s it! You really don’t need much to make this delicious dessert. Just a few pantry staples and you’re good to go.
How the Make Dump Cake Strawberry Cheesecake
Let’s get into the actual process. I told you it was easy, and I wasn’t kidding. Here’s how to make the ultimate strawberry cheesecake dump cake::
Step 1: Preheat the Oven
Preheat your oven to 350°F (175°C). While the oven heats, prepare your ingredients and grease a 9×13-inch baking dish.
Step 2: Add the Strawberry Pie Filling
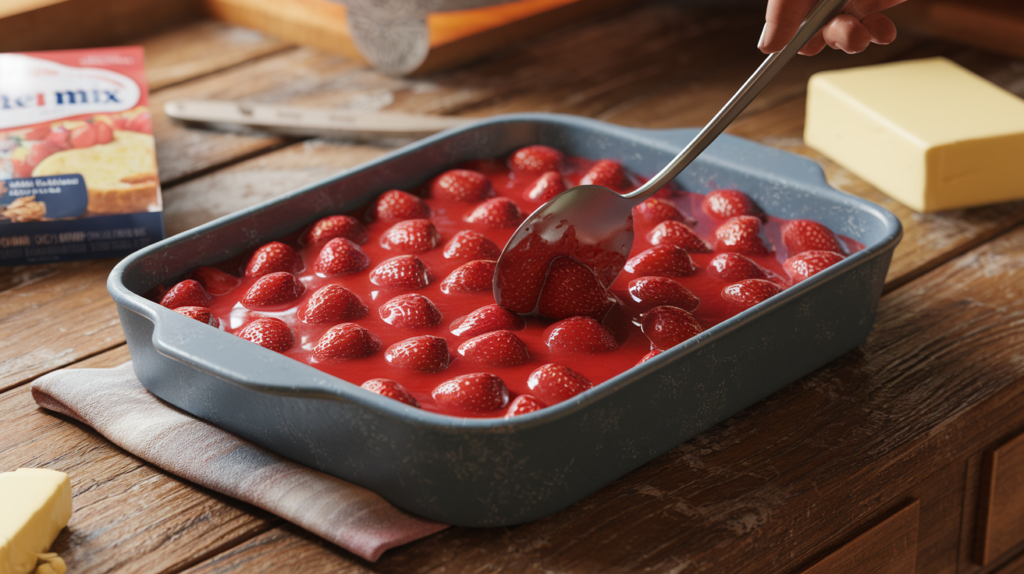
Open the cans of strawberry pie filling and spread them evenly across the bottom of the greased baking dish. This will be your first layer, the juicy, fruity base of the cake.
Step 3: Add the Cream Cheese Layer
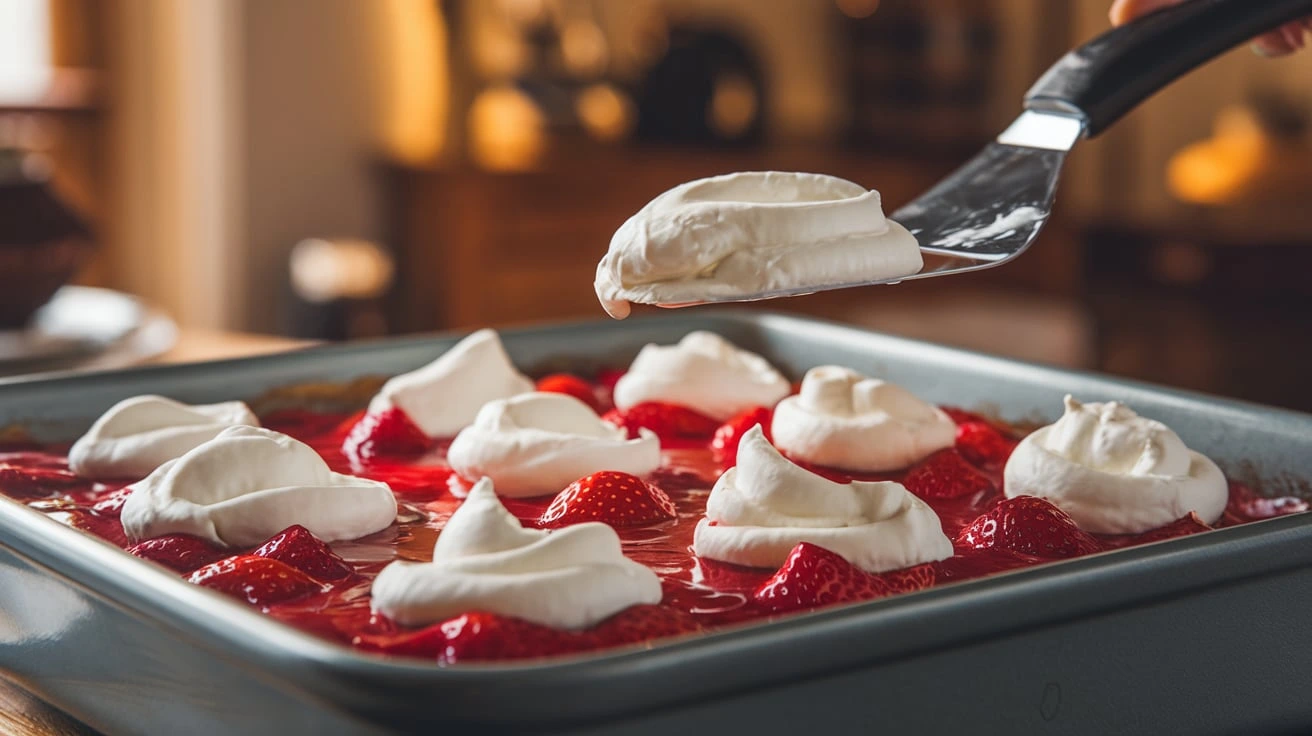
Take your softened cream cheese and dollop it on the strawberry pie filling. I like to use a spoon to drop little mounds of cream cheese all over the top and then use a spatula to spread it. You don’t have to make it perfect—part of the charm of a dump cake is its rustic, imperfect look.
Step 4: Sprinkle the Cake Mix
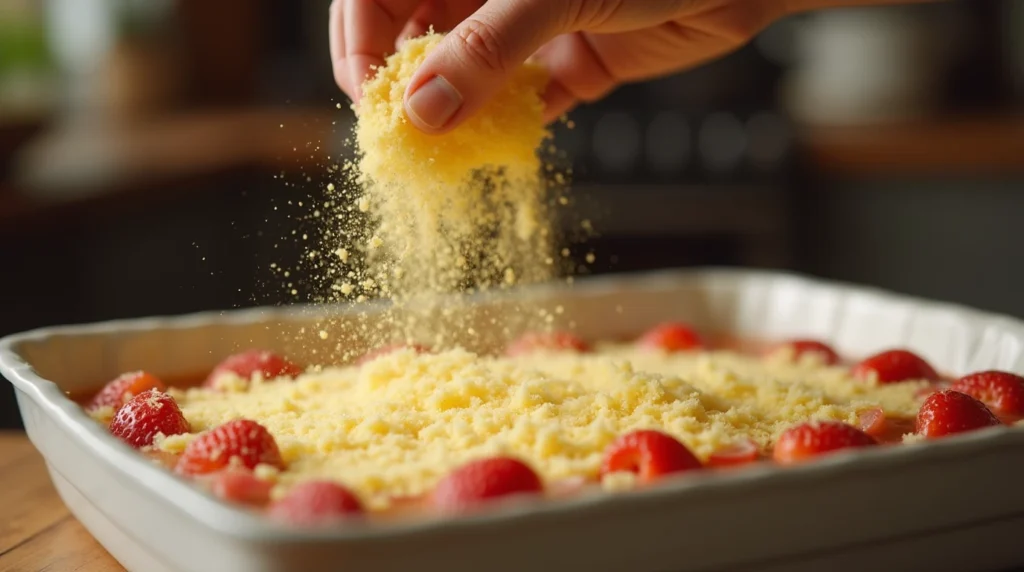
next, sprinkle your box of yellow cake mix evenly over the strawberry and cream cheese layers. Make sure the entire surface is covered with the cake mix. This is what gives the cake it’s crumbly, buttery topping.
Step 5: Add the Butter
Now, drizzle your melted butter evenly over the dry cake mix. The butter will seep into the cake mix as it bakes, creating a deliciously rich and slightly crunchy topping. If you like, sprinkle a little sugar for extra sweetness and a caramelized finish.
Step 6: Bake
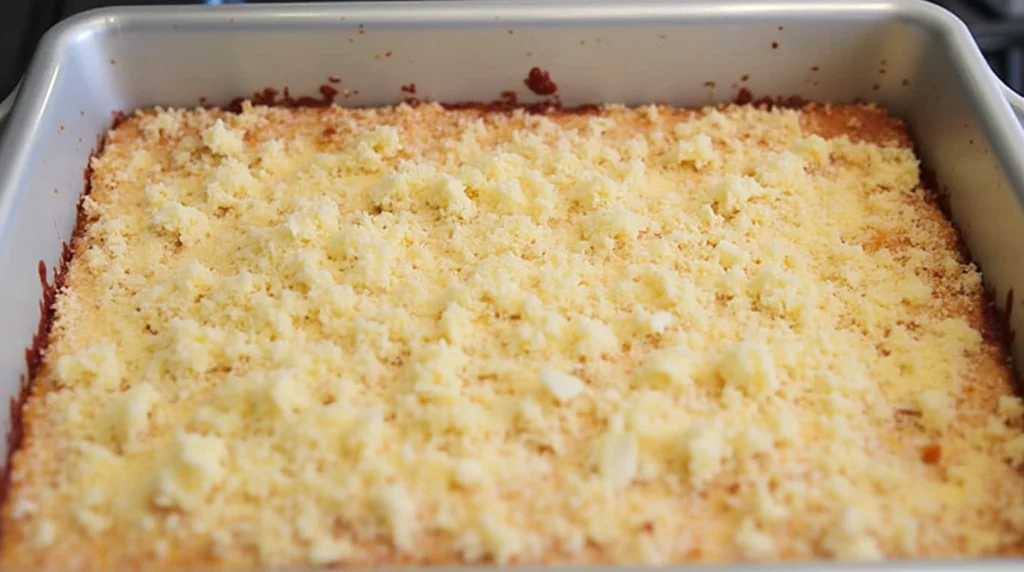
Place the baking dish in the oven for 45 to 50 minutes. The cake is made when the top is golden brown and the edges are bubbling with strawberry filling.
Step 7: Let It Cool and Serve
Once the cake is baked, let it cool for 10 to 15 minutes before serving. This gives the filling a chance to firm up a little.
Helpful Tips
- Using High-Quality Ingredients for the Best Flavor
- Tip: The simple ingredients in this recipe make quality essential. Choose a cake mix from a trusted brand, and for the best taste, use high-quality cream cheese and, if possible, organic strawberries. This attention to quality will make a noticeable difference in the flavor, especially since the dish has only a few ingredients.
- Add a Crunchy Topping for Extra Texture
- Tip: Sprinkle 1/2 cup of chopped nuts, such as walnuts or pecans, on top of the cake mix before adding the melted butter for a satisfying crunch. If nuts aren’t your preference, shredded coconut or oats can also be used. These toppings pleasantly contrast the smooth filling and creamy cheesecake layers.
- Serving Ideas for the Perfect Dessert Finish
- Tip: While this Strawberry Cheese Dump Cake dump cake is delicious, pairing it with an excellent topping creates a beautiful contrast to its warmth and texture. Serve it with vanilla ice cream, whipped cream, or even a dollop of Greek yogurt. If you want an extra touch, sprinkle some fresh strawberry slices on top before serving, adding color and a refreshing burst of flavor.
- Letting the Cake Rest Before Serving
- Tip: When the Strawberry Cheesecake Dump Cake comes out of the oven, let it rest for 10-15 minutes. This helps the layers set and makes serving much more accessible. The strawberry filling will thicken slightly as it cools, creating a perfect consistency. Cutting into the cake too soon might make it overly runny, so a brief wait is worth it!
- Softening the Cream Cheese Properly
- Tip: To avoid clumps and ensure an even cream cheese layer, remove the cream cheese from the refrigerator at least 30 minutes before starting. If you’re short on time, you can soften it in the microwave on a low setting for 10-second intervals until it’s smooth but not melted. Softened cream cheese spreads more easily across the strawberry filling, making every bite extra creamy and smooth
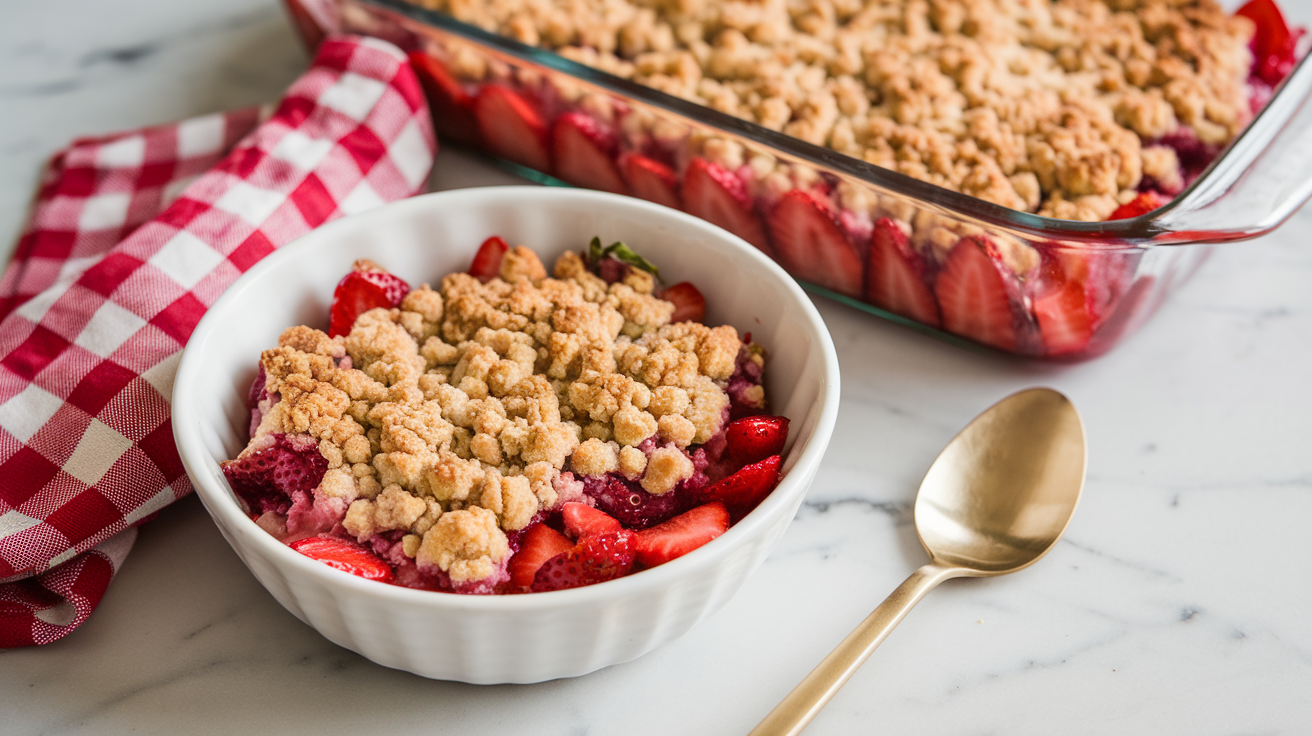
Storage :
Here are detailed storage instructions to help keep your Strawberry Cheesecake Dump Cake fresh and delicious:
- At Room Temperature
- If you’re planning to serve the Strawberry Cheesecake Dump Cake the same day, you can keep it at room temperature. Cover the cake loosely with plastic wrap or aluminum foil to protect it from drying out.
- Time Limit: Leave the cake out for 6 hours to avoid any spoilage, especially with the cream cheese layer.
- In the Refrigerator
- To store leftovers, cover the baking dish with a tight layer of plastic wrap or aluminum foil, or transfer the cake to an airtight container.
- Duration: Stored this way, the Strawberry Cheesecake Dump Cake will stay fresh in the refrigerator for 3-4 days.
- Serving Tip: When ready to serve again, you can eat it cold or gently warm individual portions in the microwave for about 15-20 seconds for a fresh-from-the-oven taste.
- In the Freezer
- If you want to keep the Strawberry Cheesecake Dump Cake longer, it can be frozen.
- Steps: Slice the cake into individual servings, then wrap each portion tightly in plastic wrap to protect against freezer burn. Place the wrapped portions in a single layer in a freezer-safe, airtight container or heavy-duty freezer bag.
- Duration: The cake can be frozen for up to 2-3 months.
- Thawing: To enjoy, move the frozen portions to the refrigerator and let them thaw overnight.
- Reheating Option: For a freshly baked texture, you can warm thawed portions in the oven at 300°F (150°C) for about 10-15 minutes or microwave for 20-30 seconds.
Following these steps will keep your Strawberry Cheesecake Dump Cake fresh and flavorful, whether you enjoy it right away or save it for later!
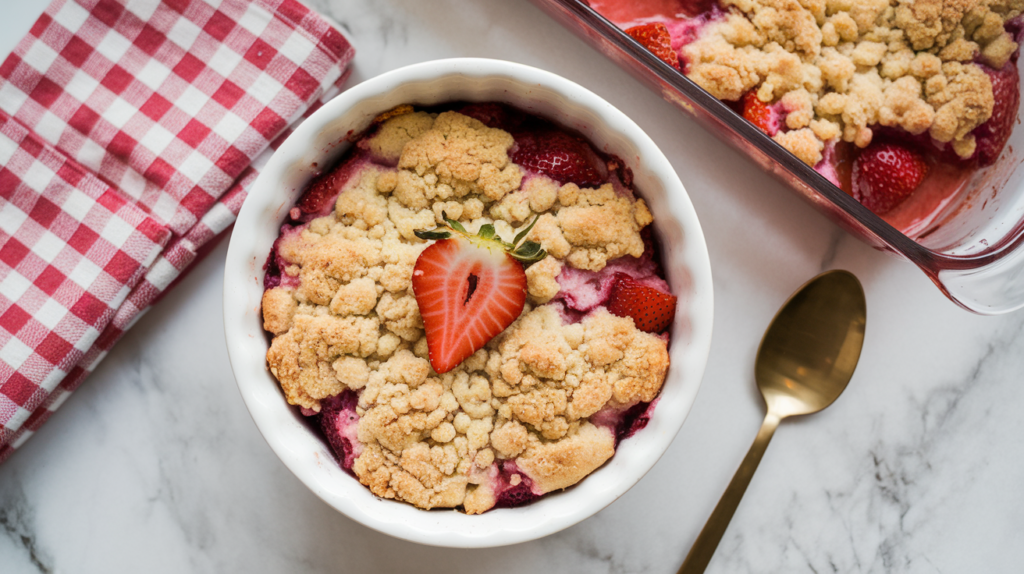
Frequently Asked Questions (FAQs)
- Can I swap canned pie filling for fresh strawberries in this recipe?
- Yes, you can use fresh strawberries, but you’ll need to cook them down with a bit of sugar and cornstarch to create a thick, jam-like consistency similar to pie filling. This ensures the right texture and prevents the cake from becoming too watery.
- Do I need to mix the ingredients?
- No mixing is required! That’s the beauty of a dump cake. Just layer each ingredient as instructed, and they’ll bake together in the oven. The cream cheese and cake mix will meld into the strawberry filling, creating distinct layers and textures.
- Can I make Strawberry Cheesecake Dump Cake dairy-free?
- Absolutely! Substitute dairy-free cream cheese and use melted coconut oil or dairy-free margarine instead of butter. This makes the cake suitable for those with lactose intolerance or dairy allergies.
- What if I don’t have a yellow cake mix?
- You can substitute it with a white or vanilla cake mix, which will give a similar flavor. For a bit of a twist, try using lemon or chocolate cake mix, which adds an interesting flavor variation.
- How should I store leftovers?
- Cover and store leftovers in the refrigerator for up to 3-4 days. For best results, reheat individual servings in the microwave or oven. You can also freeze portions for up to 2-3 months; just thaw and reheat before enjoying.
- Can I add toppings to this Strawberry Cheesecake Dump Cake Recipe
- Yes, feel free to add toppings! Common choices include chopped nuts, shredded coconut, or even mini chocolate chips before baking. A sprinkle of cinnamon or brown sugar on top will also add a nice caramelized finish.
- Can I make this dessert ahead of time?
- Yes, you can make it ahead, but for best results, bake it on the same day you plan to serve it to maintain the crispy texture on top. If you need to prepare it in advance, bake it fully and then reheat it in the oven before serving.
- Does this Strawberry Cheesecake Dump Cake need to be refrigerated?
- Yes, because of the cream cheese layer, it’s best to store the cake in the refrigerator if not served within a few hours. This keeps the ingredients fresh and safe to eat.
- How can I make this cake a bit less sweet?
- To reduce sweetness, use unsweetened frozen strawberries cooked with a bit of cornstarch instead of the pie filling, or look for a low-sugar or reduced-sugar pie filling.
- What’s the best way to serve the Strawberry Cheesecake Dump Cake?
- This cake is delicious and served warm with a scoop of vanilla ice cream or a dollop of whipped cream. The warm, fruity filling and creamy topping pair perfectly with these cool additions.
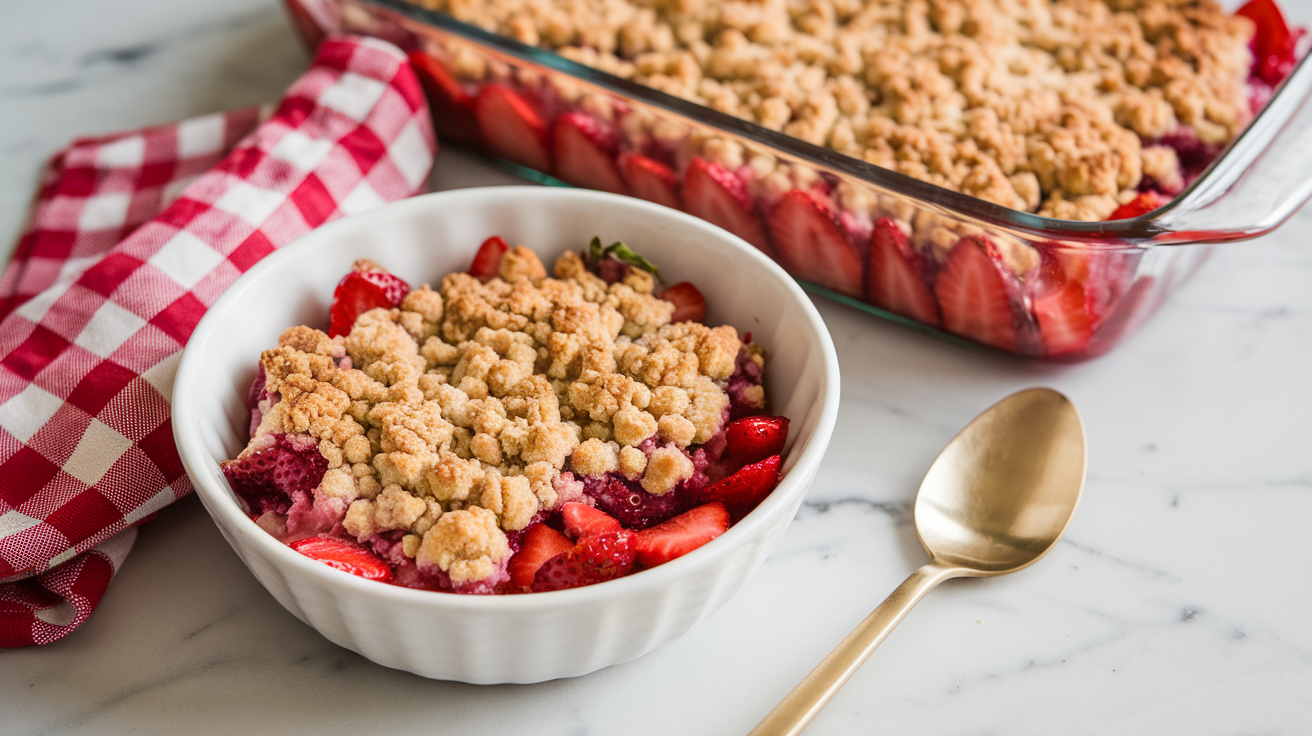
Strawberry Cheesecake Dump Cake
Equipment
- An electric mixer (or a whisk for manual mixing)
- baking dish
- A spatula for spreading the layers
- Pizza Peel
- Pizza Peel
Ingrédients
- 1 box of yellow cake mix
- 2 cans of strawberry pie filling
- 1 package (8 oz) of cream cheese
- 1/2 cup butter
- 1 teaspoon vanilla extract
- Whipped cream or vanilla ice cream
- 1/4 cup sugar
Instructions
- Step 1: Preheat the OvenPreheat your oven to 350°F (175°C). While the oven heats, prepare your ingredients and grease a 9×13-inch baking dish.
- Step 2: Add the Strawberry Pie FillingOpen the cans of strawberry pie filling and spread them evenly across the bottom of the greased baking dish. This will be your first layer, the juicy, fruity base of the cake.
- Step 3: Add the Cream Cheese LayerTake your softened cream cheese and dollop it on the strawberry pie filling. I like to use a spoon to drop little mounds of cream cheese all over the top and then use a spatula to spread it. You don’t have to make it perfect—part of the charm of a dump cake is its rustic, imperfect look
- Step 4: Sprinkle the Cake Mixnext, sprinkle your box of yellow cake mix evenly over the strawberry and cream cheese layers. Make sure the entire surface is covered with the cake mix. This is what gives the cake it’s crumbly, buttery topping.
- Step 5: Add the ButterNow, drizzle your melted butter evenly over the dry cake mix. The butter will seep into the cake mix as it bakes, creating a deliciously rich and slightly crunchy topping. If you like, sprinkle a little sugar for extra sweetness and a caramelized finish.
- Step 6: BakePlace the baking dish in the oven for 45 to 50 minutes. The cake is made when the top is golden brown and the edges are bubbling with strawberry filling.
- Step 7: Let It Cool and ServeOnce the cake is baked, let it cool for 10 to 15 minutes before serving. This gives the filling a chance to firm up a little.
Notes
Helpful Tips
- Using High-Quality Ingredients for the Best Flavor
- Add a Crunchy Topping for Extra Texture
- Serving Ideas for the Perfect Dessert Finish
- Softening the Cream Cheese Properly

Pingback: Do you love tropical desserts? This pineapple coconut dump cake will surprise you! - sugaryrecipes