Table des matières
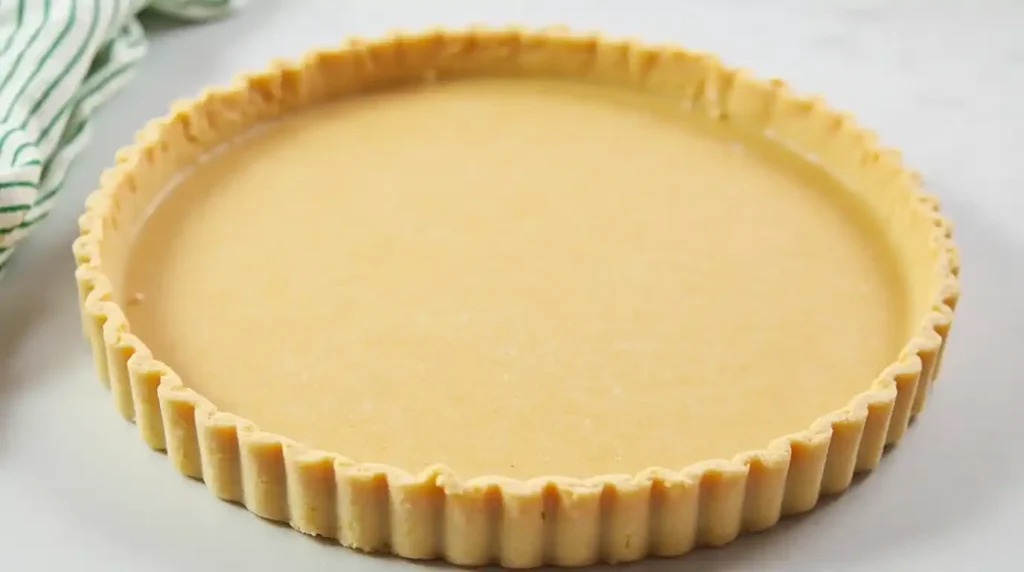
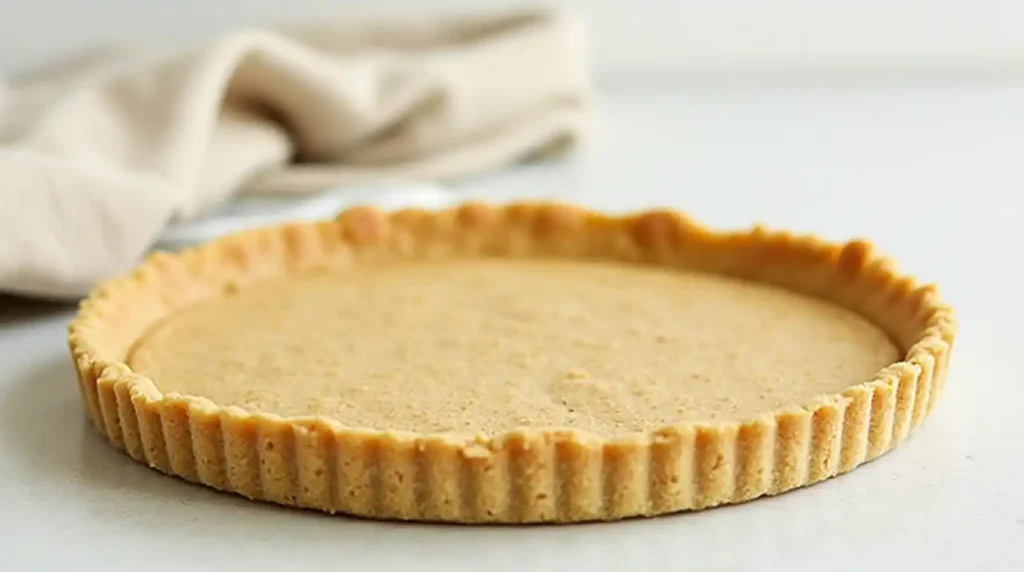
Do you want to hear a guilty pleasures story? If you’re a long-time gluten-free diner, you’ve most likely come across a nasty gluten-free pastry. It may sound quite familiar, contacting a tough, floury texture or dough that crumbles easily. Well, as such, you are right on this page. Finally, after lots of experimentation, I believe that I’ve gotten the perfect gluten-free sweet pastry – yay! This pleasantly tender homemade shortcrust is ideal for a pie or tart and only calls for a few ingredients.
Why You’ll Love This Recipe
- Perfect Texture: This gluten-free tart crust recipe is fantastic, excellent, flaky, tender in the right places, and ideally suited to sweet and savory applications. Accessible to Work With Sticky dough, especially gluten-free dough, is usually quite complicated, but this recipe instructs and guides how to avoid being stuck by the dough.
- Great Flavor: Delicately, subtly sweet, with a hint of nuts, the flavor suits sweet tart recipes just as well as savory ones. Doesn’t only serve as a base but also adds an extra level of taste to the tart a bit.
- Diet-Friendly: It is a gluten-free tart because it is made with gluten-free flour, thus inclusive to every member of the house with gluten intolerance or any form of celiac disease.
- Versatile: This gluten-free tart crust is suitable for any tart recipe – from fruit tarts requiring a typical pastry base to tarts with a quiche-like filling.
- Holds Up Well: Some gluten-free tart crust I’ve used in the past can be pretty fragile and prone to breaking apart – not this one, though; it’s solid, allowing you to create an excellent presentation typically associated with artisan bakers.
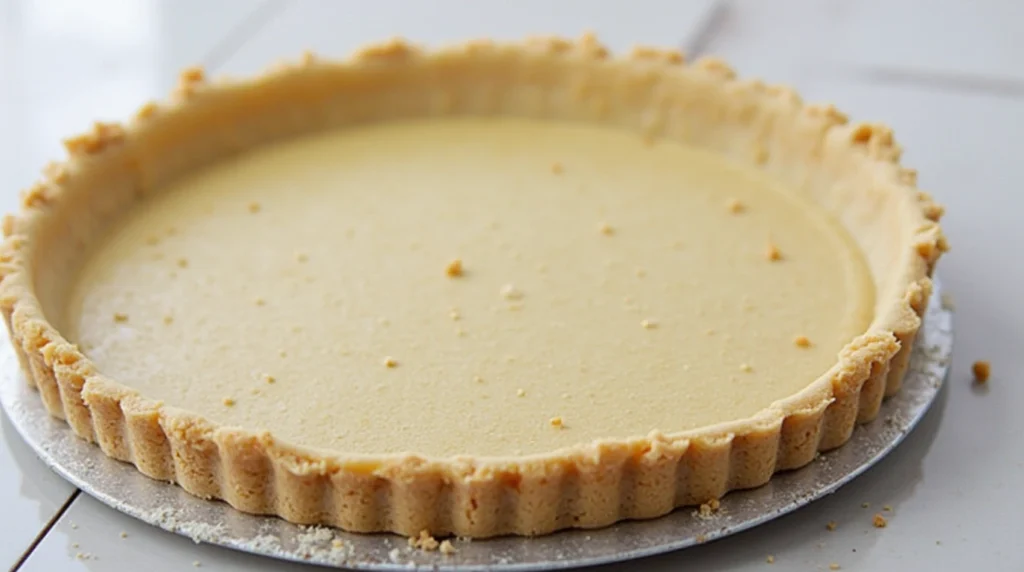
Ingredients
Here’s what you’ll need to make a gluten-free tart crust that’s crispy, flavorful, and versatile:
Dry Ingredients:
- 1 ½ cups gluten-free all-purpose flour – Look for a blend that includes xanthan gum to help with binding. If your blend doesn’t contain xanthan gum, add ½ teaspoon to the dry ingredients.
- ¼ cup almond flour – This adds a rich, nutty flavor and contributes to a tender texture. Almond flour is also packed with healthy fats, making this crust more nutritious.
- 2 tablespoons sugar – Optional, but highly recommended for sweet tarts.
- ¼ teaspoon salt – Enhances the overall flavor of the tart.
Wet Ingredients:
- ½ cup cold butter (or dairy-free alternative) – Cold butter is essential for creating those flaky layers in the crust. If you’re making a dairy-free tart, you can use a vegan butter substitute.
- 1 large egg – Helps bind the dough and adds richness.
- 2-3 tablespoons cold water – Just enough to bring the dough together without making it too sticky.
By combining gluten-free all-purpose flour with almond flour, you create a dough that is sturdy enough to hold up to fillings, while the almond flour provides an extra layer of moisture and flavor.
How To Make Gluten-Free Tart Crust
Step 1: Prepare Your Ingredients
Begin by gathering all your ingredients. Make sure the butter is cold, as this is key to achieving a flaky texture in your crust. If the butter is too soft, your crust will turn out dense instead of light and crisp.
Step 2: Mix the Dry Ingredients

In a large mixing bowl, whisk together the gluten-free flour, almond flour, sugar, and salt. If your flour blend doesn’t contain xanthan gum, be sure to add it at this stage to help with the dough’s elasticity and structure.
Step 3: Cut in the Cold Butter

Next, cut the cold butter into the dry ingredients using a pastry cutter or your fingers. Work the butter into the flour until the mixture resembles coarse crumbs, with some larger chunks of butter remaining. These small pieces of butter will melt during baking, creating pockets of air that make your crust flaky.
Step 4: Add the Egg and Water

Add the Egg and Water Crack the egg into a bowl, beat it up and then the mixture was poured into the flour-butter mixture. Stir gently to combine. To incorporate the cold water, first, sprinkle the water little by little into the mix while stirring – only pour enough water that the dough barely holds together. The dough should be wet but not even slimy. If too stiff add some water, if too sloppy, add more gluten-free flour.
Step 5: Chill the Dough

Once the dough has formed, wrap it in plastic wrap and flatten it into a disk. Allow the dough to rest in the refrigerator for at least 30 minutes to firm up. This step helps firm up the butter and relaxes the dough, making it easier to roll out.
Step 6: Roll Out the Dough
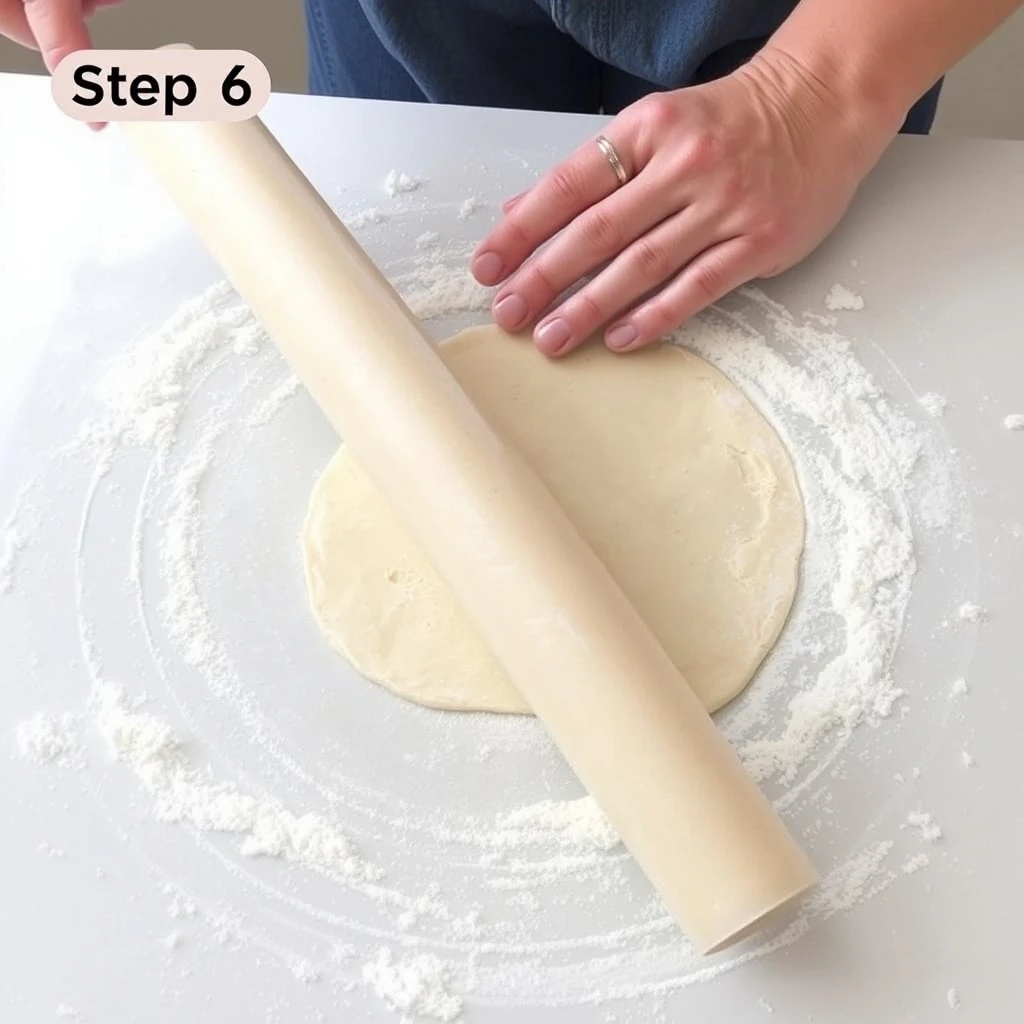
Roll Out the Dough After that put the dough in a slightly floured area to make it easy to roll. Level the mixture and spread it down to about ¼ inch thick. If it is a problem to stick the dough then it is better to roll it in two sheets of the parchment paper.
Step 7: Transfer to the Tart Pan

Transfer to the Tart Pan Carefully transfer the dough rolled out to the tart pan and make sure that it fits nicely into the pan. With the back of your fingers press the dough into the bottom and up the sides of the pan evenly. Sweep of any extra dough with a knife. If the dough splits, don’t panic: you simply press it a bit with your fingers.
Step 8: Blind Bake the Crust
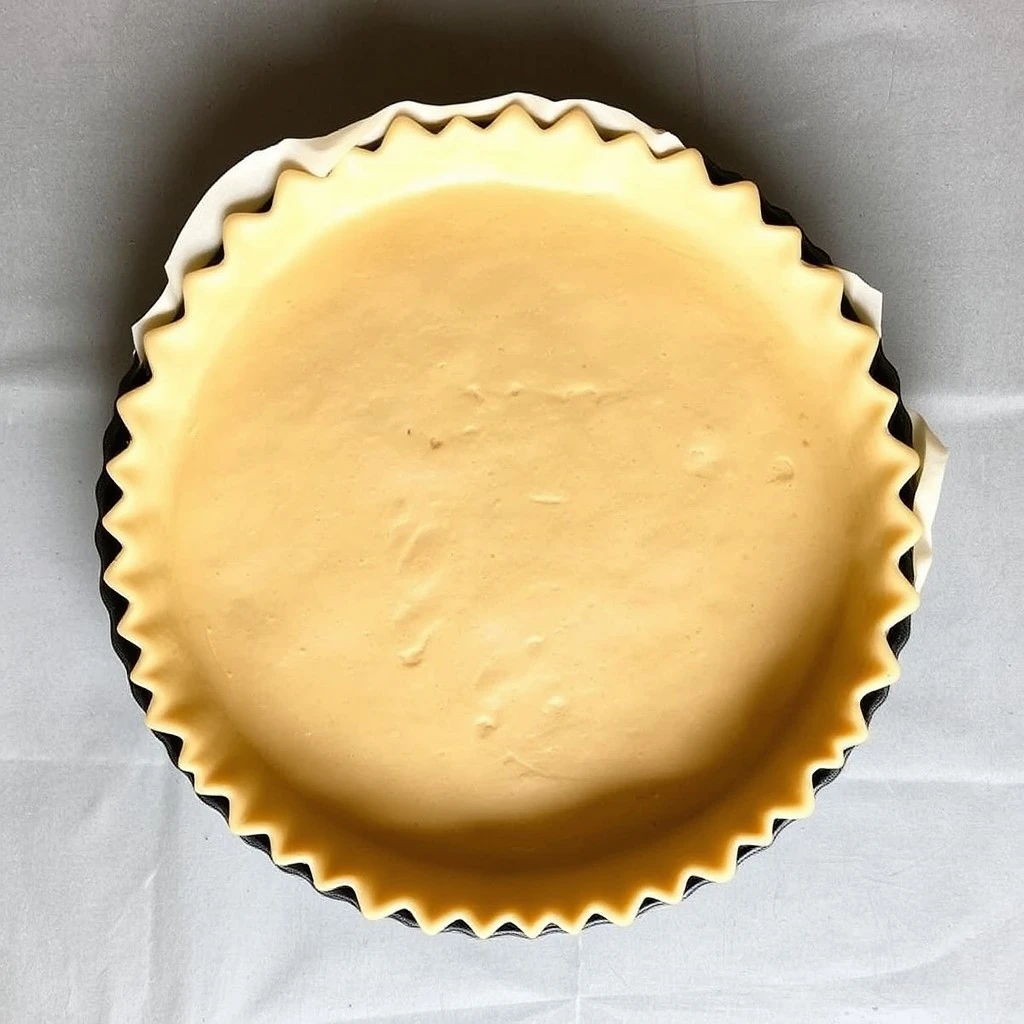
Blind Bake the Crust Blind baking is a very crucial step in the process to avoid the crust from becoming soggy when you place your filling. In the Blind Bake method of baking a tart crust, you have to put parchment paper into the tart and then fill with pie weights or dried beans. Bake at 375 °F for 10 – 12 minutes. Take out the parchment together with the weights and bake it for an additional 5-7 minutes, or until the crust turns gold. If you’re filling the tart with something that needs further baking say a custard, blind bake the crust for ten minutes, then add the filling and bake again.
Helpful Tips
- Use cold butter: Keeping the butter cold is the key to creating a flaky, tender crust. If your kitchen is warm, try freezing the butter for 10-15 minutes before cutting it into the flour.
- Don’t overwork the dough: When making almond flour tart crust it’s essential not to overmix it. Mix until the ingredients come together—overmixing can make the crust tough.
- Chill the dough: Letting the dough rest and chill in the fridge before rolling it out is crucial for easy handling and preventing shrinkage during baking.
- Blind bake for a crisp crust: Blind baking helps ensure the crust stays crisp, mainly if you use a wet filling.
- Experiment with different flours: While this recipe calls for gluten-free all-purpose and almond flour, you can experiment with other gluten-free flours, like oat or coconut flour, to create different flavors and textures.
Storage and Reheating Instructions for Gluten-Free Tart Crust
Storage Instructions
- At Room Temperature (for same-day use): If you wish to use the crust on the same day, let it cool, wrap it with a clean kitchen towel, and leave it on a counter. This makes it remain flaky rather than getting dry.
- Refrigeration: If you are to chill the almond tart crust gluten-free for a day or up to 3 days, wrap it in a plastic wrap or put it into an airtight package. This keeps moisture out and keeps the crust crisp.
- Freezing: Freezing is a more extended way of storing gluten-free tart crust. Cover it well with a layer of plastic wrap, then put the gluten-free tart crust into the freezer-safe plastic bag or container. Freeze for up to 2 months. Keep it in the refrigerator for a day before using, or placing it in a microwave before using.
Reheating Instructions
- Room Temperature: For a thawed or refrigerated crust, let it come to room temperature for about 15-20 minutes before using.
- Oven Reheating: If you want to crisp up the gluten-free tart crust , preheat the oven to 350°F (175°C). Warm the crust on a baking sheet for 5-10 minutes or until it reaches your desired crispiness. This works exceptionally well for fully baked crusts used as a base for tarts and pies.
- With these storage and reheating tips, your gluten-free tart crust will stay tender, flaky, and delicious!
Frequently Asked Questions (FAQs)
1: What gluten-free flours work best for tart crust?
- A blend of almond flour, rice flour, and tapioca or cornstarch works well for structure and flakiness. Almond flour adds richness, while rice flour keeps it light.
2: How do I prevent the crust from crumbling?
- Adding a binding agent, like xanthan gum or psyllium husk, helps prevent crumbling. Also, chilling the dough before baking helps it hold together better.
3: How do I keep a gluten-free crust from getting soggy?
- Pre-bake (or “blind bake”) the crust for about 10-12 minutes before adding a filling. This helps it stay crisp and prevents sogginess, especially with moist fillings.
4: Can I make this crust dairy-free as well?
- Absolutely! Substitute the butter with a plant-based alternative, like coconut oil or vegan butter, to make the crust dairy-free.
5: What’s the best way to roll out gluten-free tart dough?
- Place the dough between two sheets of parchment paper to prevent sticking and tearing. Roll gently to your desired thickness, then transfer it directly to the tart pan.
6: Why doesn’t gluten-free crust rise like traditional crusts?
- Without gluten, the structure differs, so gluten-free crusts generally remain more compact. However, they still turn out tender and flaky.
7: Can I use this crust for both sweet and savory tarts?
- Yes! You can make slight adjustments by adding a bit of sugar for sweet tarts or leaving it out for savory dishes.
Perfect Gluten-Free Tart Crust
Equipment
- Mixing Bowl
- Whisk
- Pastry cutter
- Rolling Pin
- Plastic wrap
- Tart pan
- Parchment Paper
- Pie weights or dried beans
- Measuring Cups and Spoons
- Spatula or wooden spoon
Ingrédients
- ½ cups gluten-free all-purpose flour
- ¼ cup almond flour
- 2 tablespoons sugar
- ¼ teaspoon salt
- ½ cup cold butter
- 1 large egg
- 2-3 tablespoons cold water Just enough to bring the dough together without making it too sticky.
Instructions
- Begin by gathering all your ingredients. Make sure the butter is cold, as this is key to achieving a flaky texture in your crust. If the butter is too soft, your crust will turn out dense instead of light and crisp.
- In a large mixing bowl, whisk together the gluten-free flour, almond flour, sugar, and salt. If your flour blend doesn’t contain xanthan gum, be sure to add it at this stage to help with the dough’s elasticity and structure.
- Next, cut the cold butter into the dry ingredients using a pastry cutter or your fingers. Work the butter into the flour until the mixture resembles coarse crumbs, with some larger chunks of butter remaining. These small pieces of butter will melt during baking, creating pockets of air that make your crust flaky.
- In a small bowl, whisk the egg and then add it to the flour-butter mixture. Stir gently to combine. Slowly add the cold water, one tablespoon at a time, until the dough just comes together. The dough should be moist but not sticky. If it’s too dry, add a bit more water; if it’s too wet, sprinkle in some more gluten-free flour.
- Once the dough has formed, wrap it in plastic wrap and flatten it into a disk. Let it chill in the refrigerator for at least 30 minutes. This step helps firm up the butter and relaxes the dough, making it easier to roll out.
- After chilling, place the dough on a lightly floured surface. Roll it out to about ¼-inch thickness. If you're having trouble with the dough sticking, roll it between two sheets of parchment paper to make the process easier.
- Carefully transfer the rolled-out dough to a tart pan. Gently press the dough into the edges of the pan, making sure it's even. Trim off any excess dough with a knife. If the dough tears, don’t worry—just patch it up with your fingers.
- Blind baking is essential for preventing the crust from becoming soggy when you add your filling. To blind bake, line the tart crust with parchment paper and fill it with pie weights or dried beans. Bake at 375°F (190°C) for 10-12 minutes. Remove the weights and parchment, then bake for another 5-7 minutes, until the crust is golden.
Notes
Filling Ideas for Your Gluten-Free Tart Crust
Now that you’ve mastered the art of making a gluten-free tart crust, it’s time to think about fillings! Whether you’re making a sweet or savory tart, here are some ideas to get you started:Sweet Tart Fillings:
- Lemon curd: Tart and tangy, perfect for balancing the rich almond flour crust.
- Chocolate ganache: A rich, creamy chocolate filling for decadent tarts.
- Fresh berries and cream: Light and refreshing, perfect for summer.

