Table des matières
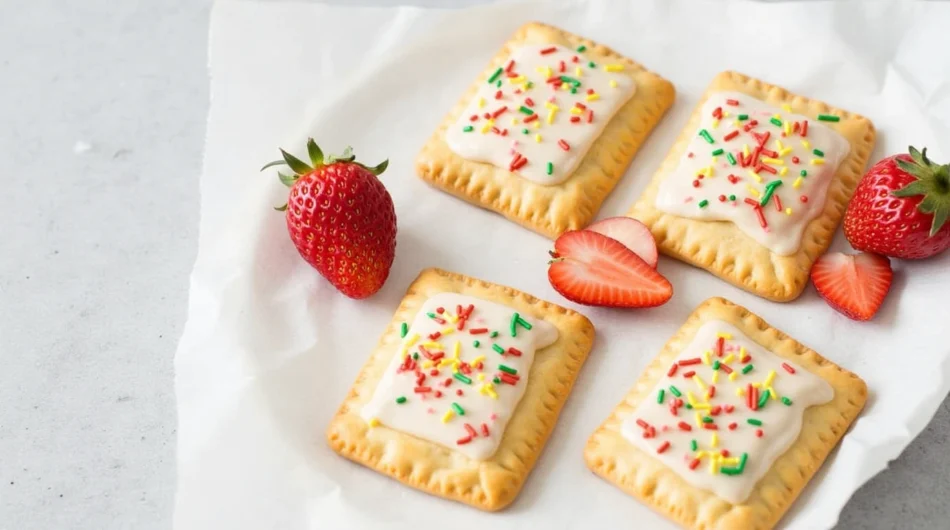
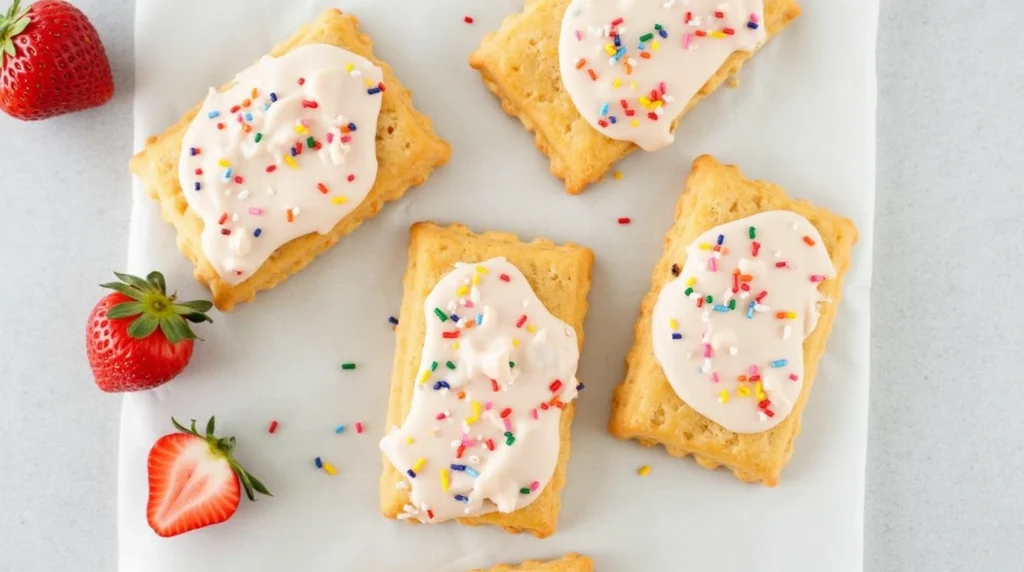
Honestly, I wouldn’t call these gluten-free hand pies “Pop Tarts” because they’re completely different from the ones you find in stores. These are made with a buttery, flaky crust and filled with sweet jam, topped off with a sprinkle of coarse sugar for a satisfying crunch. While I’m not usually a big fan of pies, these gluten-free pop tarts are so good I could eat them all day long!
This gluten free pop tarts are perfect snack size and super easy to take with you for picnics, road trips, or casual get-togethers. Everyone will be amazed by how delicious these gluten-free blueberry hand pies are!
If you enjoy gluten-free recipes, you’re going to love this one, along with others like gluten-free apple cake , Gluten-Free Tart Crust .
Why You’ll Love This Recipe
- Simple Ingredients: Made with pantry staples, these hand pies are easy to prepare without any complicated ingredients.
- Incredibly Flaky: Each bite of the buttery, flaky crust practically melts in your mouth.
- Customizable Fillings: Use your favorite jam or even a chocolate spread to make them your own.
- Gluten-Free Delight: Great for anyone with gluten sensitivity, these pies don’t compromise on taste or texture.
- On-the-Go Snack: Their convenient size makes them perfect for picnics, road trips, or a quick treat anytime.
- A Hit with Everyone: Perfect for parties or family desserts, these are sure to wow everyone!
Once you try these easy gluten-free pop tart recipe , you’ll find any excuse to bake another batch!
Ingredients
For the Dough:
- 1 ½ cups gluten-free all-purpose flour – Make sure to use a blend that includes xanthan gum, which acts as a binder.
- 2 tablespoons sugar – This adds just a touch of sweetness to the dough.
- ¼ teaspoon salt – To enhance the overall flavor of the pastry.
- ½ cup cold unsalted butter – Cold butter is crucial for achieving that flaky texture.
- 1 large egg – Helps bind the dough and adds richness.
- 2-4 tablespoons cold water – You’ll add just enough to bring the dough together without making it sticky.
For the Filling:
- ½ cup jam or preserves – Choose your favorite jam flavor, like strawberry, raspberry, or apricot. You can also experiment with chocolate or a cinnamon-sugar mixture.
For the Glaze:
- ½ cup powdered sugar
- 1-2 tablespoons milk – Adjust based on the consistency you want for the glaze.
- ½ teaspoon vanilla extract – Optional, for extra flavor.
- Sprinkles – For that fun, classic pop tart look.
How To Make Gluten-Free Pop Tarts
This simple guide will walk you through making delicious gluten-free pop tarts from scratch. Follow the tips along the way to ensure your pop tarts come out perfectly every time!
Step 1: Prepare the Dough
Gather Your Ingredients
Start by collecting everything you need. Make sure the butter is cold—it’s the secret to getting that light, flaky texture everyone loves.
Mix the Dry Ingredients
In a large mixing bowl, combine your gluten-free all-purpose flour, sugar, and salt. Use a whisk to mix them well. This step ensures the sugar and salt are evenly spread, so every bite of your pastry is flavorful and balanced.
Incorporate the Butter
Cut the cold butter into small cubes. Keeping the butter cold is key—it’s what creates a flaky crust. As the butter melts during baking, it forms little air pockets that give the crust its crispy layers.
Using a pastry cutter or your hands, work the butter into the flour mixture until it looks crumbly, like coarse sand. Don’t overdo it! You want to see small bits of butter in the dough; that’s what makes the magic happen.

Add the Wet Ingredients
Lightly beat an egg in a small bowl and pour it into the flour mixture. Gently stir it in. Next, add cold water, one tablespoon at a time, mixing carefully after each addition. Continue mixing until the dough begins to hold together. It should be moist but not sticky. If it feels too dry, add a tiny bit more water; if it’s too sticky, sprinkle in a touch more flour.
Chill the Dough
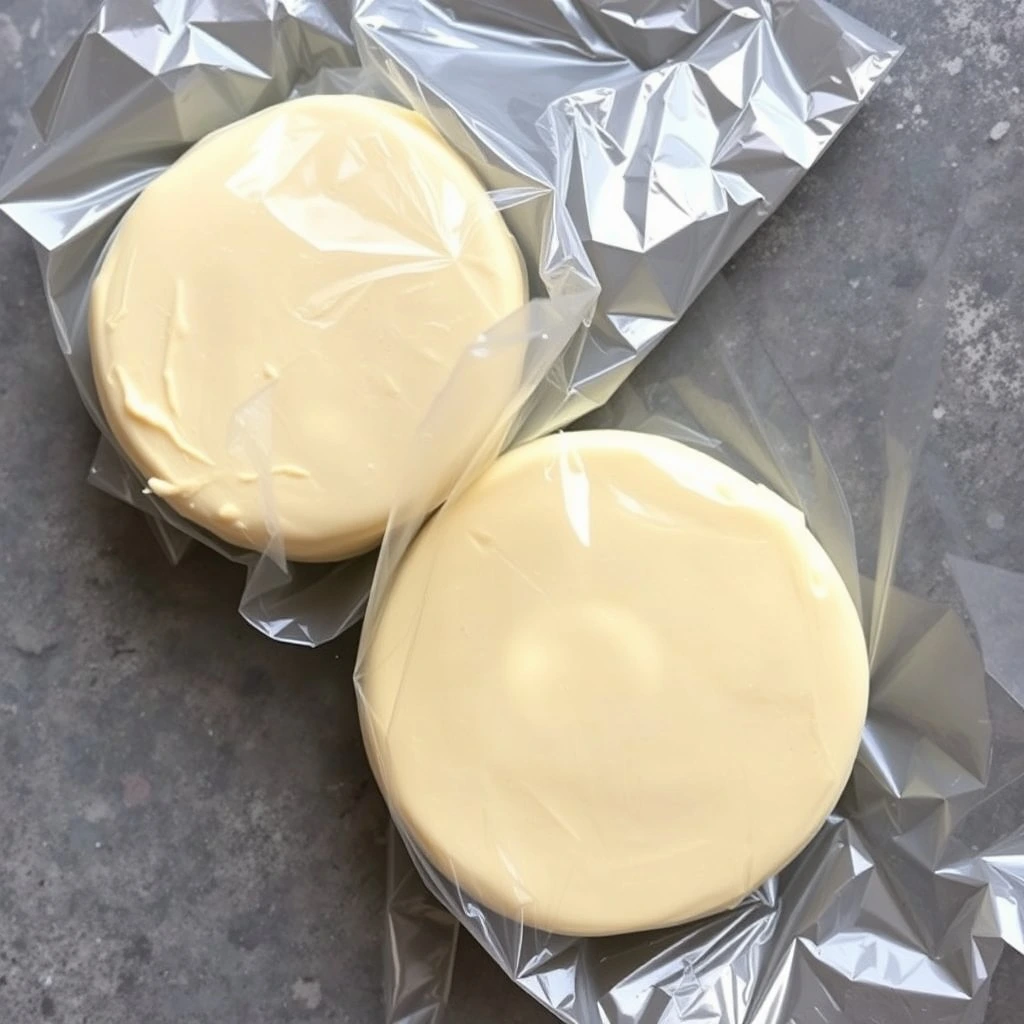
When the dough is prepared, split it into two even portions. Shape each into a flat disk, wrap them in plastic wrap, and refrigerate for at least 30 minutes. Letting the dough chill gives the butter time to firm up, making the dough easier to roll out and keeping it from sticking.
Step 2: Roll Out the Dough
After the dough has cooled in the fridge, it’s time to roll it out
Getting Your Work Surface Ready
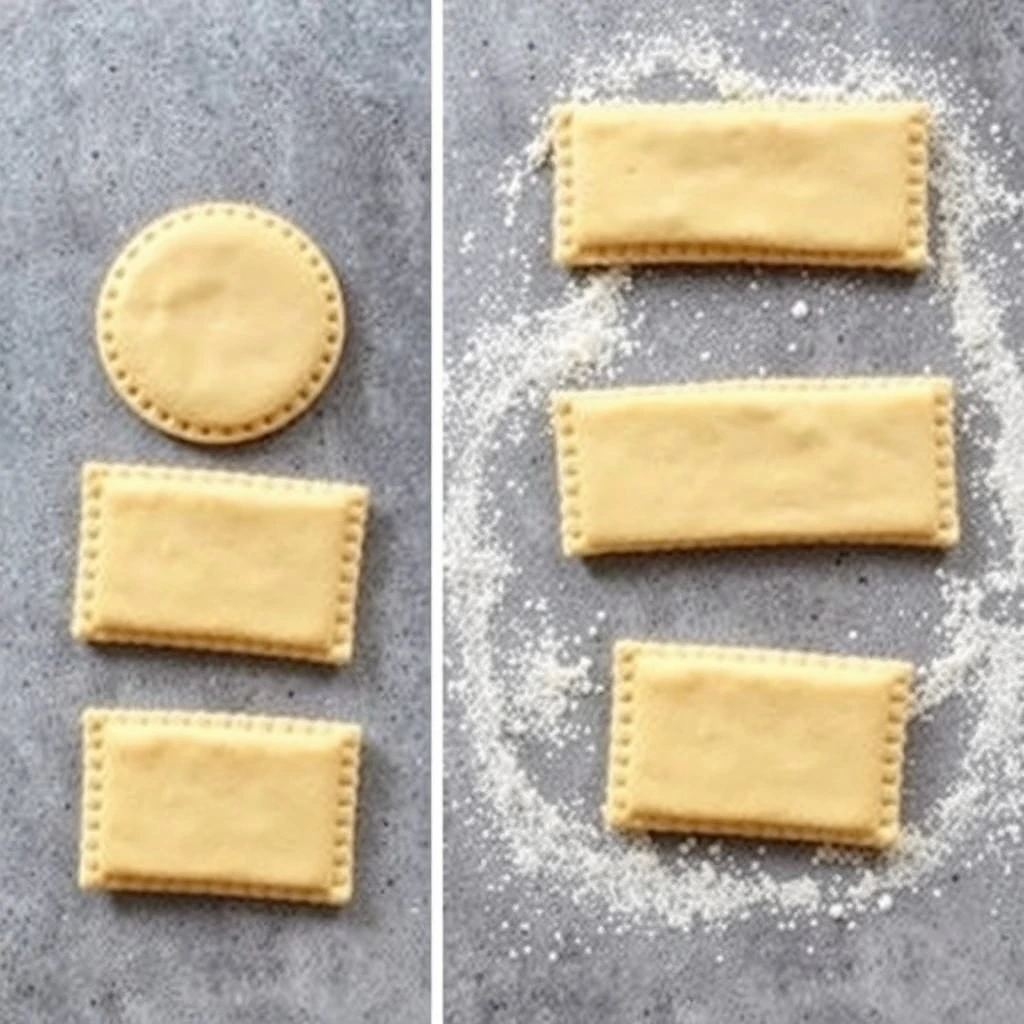
Use a little gluten-free flour on your surface when kneading the dough so that it does not stick. Take one of the chilled disks and lay it on the surface, then using a rolling pin, roll it till it is thin, about ¼ of an inch thick. Ideally, have a rectangular shape—it will be much easier to cut the flutes into bars of pop-tart size.
Cutting the Dough into Shape Using a sharp knife or a pizza cutter, cut the rolled-out dough into rectangles of around 3 1/2 x 4 inches. The same is true with the second disk of dough. Before buying, make sure to make the sizes as close to each other as possible so they fit perfectly during assembly.
Pro Tip: Want to add some fun? You can use a small cookie cutter to make these pop tarts in small portions or mini-pop tarts. It’s perfect for kids or a cutely themed party snack!
Step 3: Filling Your Pop Tarts
Here comes the exciting part—adding your favorite fillings!
Add the Filling
Take one of your dough rectangles and place about a tablespoon of filling right in the center. This could be jam, chocolate, or even something savory if you’re feeling adventurous. Be sure to leave a small border around the edges to make sealing easier and to prevent the filling from escaping while baking.
Seal the Pop-Tarts
Place another rectangle of dough over the filled one, aligning the edges. Gently press them together with your fingers to secure the filling inside. Then, grab a fork and crimp all around the edges. This step not only keeps the filling safely tucked in but also adds a charming, homemade touch to your pop-tarts.
Step 4: Bake Your Pop Tarts to Perfection
Preheat the Oven
Start by preheating your oven to 375°F (190°C). Line a baking sheet with parchment paper to prevent sticking, and carefully place your assembled pop-tarts on the sheet, making sure they have a little space between them.
Add a Golden Touch
To achieve that perfect golden-brown glow, lightly brush the tops of your pop tarts with a bit of milk.
Bake to Perfection
Slide the baking sheet into the oven and bake for 20-25 minutes. Keep an eye on them as the time ticks down—those final minutes are crucial to avoid over-browning. Your goal is a lovely golden hue and crispy edges that signal they’re ready to enjoy.
Cool and Set
Once they’re out of the oven, transfer the pop tarts to a wire rack to cool completely. Resist the temptation to glaze or ice them right away; letting them cool ensures the icing stays in place and doesn’t slide off.
Now you’re ready to enjoy your beautifully baked golden pop tarts
Step 5: Glaze and Decorate
While Your Pop-Tarts Cool, It’s Time to Make the Glaze
Whipping Up the Glaze
In a small bowl, mix powdered sugar with milk and whisk until smooth.
Pro Tip: Want to make your glaze extra fun? Add a drop of food coloring that matches your filling—like pink for strawberry or blue for blueberry. It’s an easy way to give your pop-tarts a playful touch!
Drizzling the Glaze
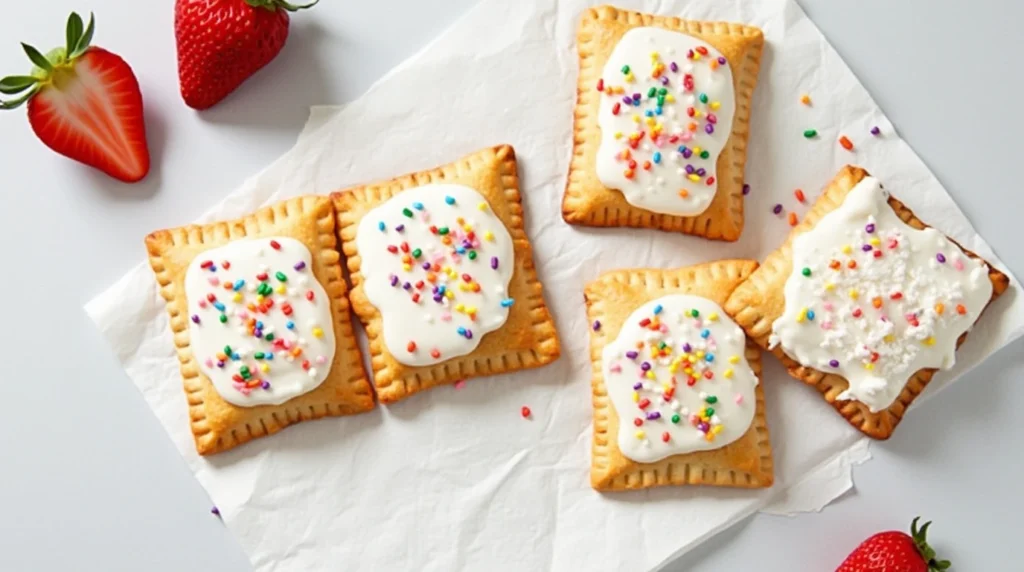
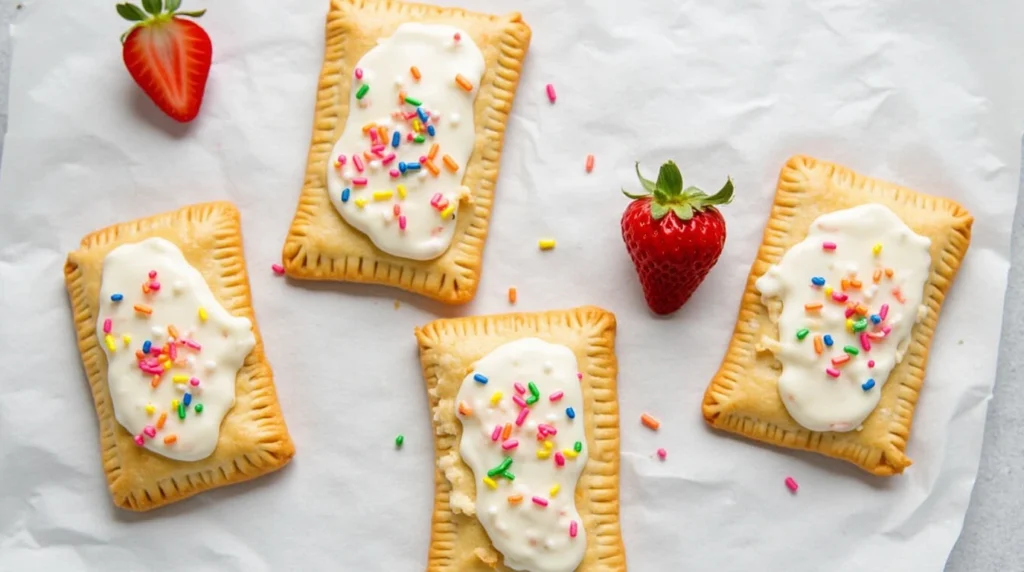
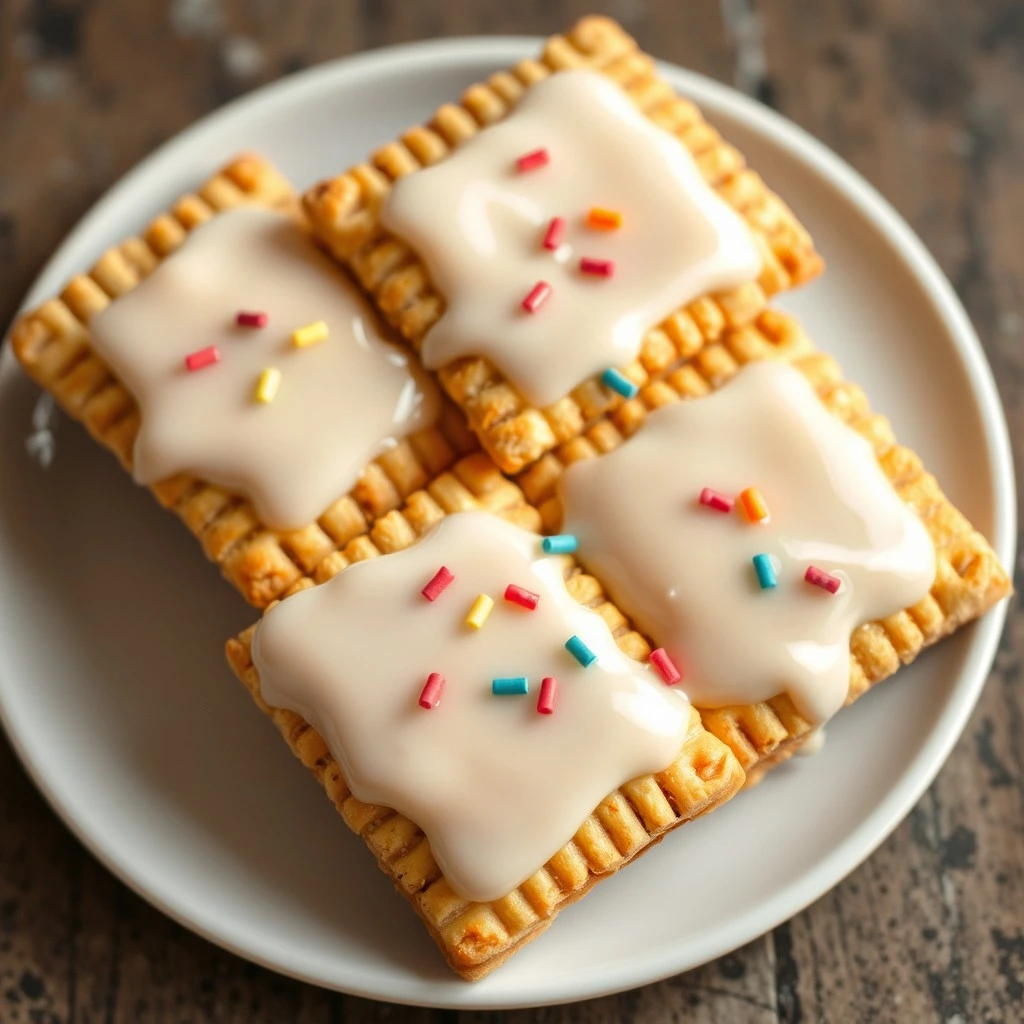
Once your gluten-free pop tarts are completely cooled (trust me, patience is key here), use a spoon to drizzle the glaze over the top. For that classic pop tart vibe, keep the glaze in the center and leave the edges bare. If you’re feeling festive, sprinkle on some decorations while the glaze is still wet—it’ll stick beautifully and add a little extra flair!
Now, sit back and admire your homemade, perfectly glazed gluten-free pop tarts before diving in!
Helpful Tips for Gluten-Free Pop Tarts
- Use Cold Butter: Keeping the butter cold is essential for creating a flaky texture. If the butter warms up too much, the dough will lose its delicate layers and become heavy. To prevent this, cut the butter into small pieces and keep it chilled until it’s time to use.
- Chill the Dough:Once the dough is mixed, let it rest in the refrigerator for at least 30 minutes before rolling. This allows the butter to harden, makes the dough more manageable, and reduces the chance of it sticking to your work surface or rolling pin.
- Don’t Overfill: While it’s tempting to add extra filling, too much can cause leaks during baking. Stick to about one tablespoon of filling per hand pie for the perfect balance and a neat result.
- Crimp Well: To keep the filling inside, seal the edges securely. Use a fork to press down firmly along the edges, ensuring no gaps remain. This step also adds a decorative touch to your hand pies.
- Customize the Filling: Get creative and make these hand pies your own! Besides jam, try Nutella, peanut butter, or even savory options like cheese and ham for a unique twist. The possibilities are endless!
By following these tips, you’ll create easy gluten-free pop tarts recipe that are not only delicious but also look and taste like they came from a bakery.
Storage and Reheating Instructions For Gluten-Free Pop Tarts
Storage and Reheating
Storage:
- Room Temperature: If you plan to eat the gluten-free pop tarts within 1-2 days, store them in an airtight container at room temperature.
- Refrigeration: For longer storage (up to 4-5 days), place gluten-free pop tarts in an airtight container and refrigerate. This keeps them fresh while preventing the filling from spoiling.
- Freezing: To keep them longer, freeze gluten-free pop tarts in a single layer on a baking sheet until firm, then transfer them to a freezer-safe bag or container. They can be stored for up to 2-3 months.
Reheating:
- Oven: Preheat your oven to 350°F (175°C) and place the gluten-free pop tarts on a baking sheet. Warm them for about 8-10 minutes or until heated through. This method helps retain the crust’s flakiness.
- Toaster Oven: Perfect for reheating one or two pies. Heat for 5-7 minutes at 350°F (175°C).
- Microwave: While quicker, this method may soften the crust. Heat for 15-20 seconds on high, just until warm.
- Air Fryer: For quick and crispy reheating, place the gluten-free pop tarts in an air fryer at 350°F (175°C) for 3-5 minutes.
Whether you’re enjoying them fresh or reheated, these easy gluten-free pop tarts recipe are just as delicious every time!
Frequently Asked Questions (FAQs)
1. Can I make these gluten-free pop tarts ahead of time?
Yes, you can! Prepare the dough and filling a day in advance and store them in the fridge. When you’re ready, just assemble and bake them fresh.
2. Can I freeze gluten-free pop tarts before baking?
Definitely! Place the unbaked pop tart on a tray in the freezer until firm, then transfer them to a freezer-safe bag or container. They’ll keep for up to 2 months. When it’s time to bake, just pop them in the oven frozen—no need to thaw, but add a few extra minutes to the baking time.
3. Can I use store-bought jam?
Of course! Store-bought jam works perfectly. If you want to take it up a notch, homemade jam is a great option, too.
4. How can I make these dairy-free?
You can easily make this dairy-free by swapping butter with a vegan alternative or coconut oil. Just make sure to keep it cold so the crust stays flaky.
5. How do I stop the filling from leaking?
The trick is not to overfill—about a tablespoon of filling is plenty. Make sure to crimp the edges tightly with a fork and, for extra security, brush a little water or egg wash around the edges before sealing.
6. Can I use gluten-free flour blends?
Yes! Just make sure you’re using a good gluten-free flour blend with xanthan gum or guar gum. If it doesn’t already have it, you can add about 1 teaspoon per cup of flour.
7. What other fillings can I try?
The options are endless! Aside from jam, you could use Nutella, peanut butter, apple filling, or even savory choices like ham and cheese.
8. How long do these gluten-free pop tarts last?
They’ll stay fresh for 1-2 days at room temperature, up to 4-5 days in the fridge, or you can freeze them for up to 3 months.
9. Can I make the gluten-free pop tarts in fun shapes?
Absolutely! Use cookie cutters to create fun shapes for holidays or special occasions. It’s a great way to make them extra festive.
10. What’s the best way to reheat them?
For the crispiest result, warm them up in the oven or toaster oven at 350°F (175°C) for about 8-10 minutes. While the microwave works in a pinch, it might make the crust soft instead of flaky.
Gluten-Free Pop Tarts Recipe
Equipment
- Mixing bowls
- Whisk
- Pastry cutter or fork
- Rolling Pin
- Plastic wrap
- Baking Sheet
- Parchment Paper
- Knife or pizza cutter
- Fork
- Measuring Cups and Spoons
- Spatula
- Pizza Peel
Ingrédients
- ½ cups gluten-free all-purpose flour
- 2 tablespoons sugar
- ¼ teaspoon salt
- ½ cup cold unsalted butter
- 1 large egg
- 2-4 tablespoons cold water
- ½ cup jam or preserves
- ½ cup powdered sugar
- 1-2 tablespoons milk
- ½ teaspoon vanilla extract
- Sprinkles
Instructions
- In a large bowl, whisk together gluten-free flour, sugar, and salt to evenly mix the ingredients. Cut cold butter into small cubes and add it to the mixture. Keeping the butter cold is crucial for creating a flaky crust, as it melts during baking, forming air pockets that make the pastry crisp and light.
- In a small bowl, beat the egg and add it to the flour-butter mixture. Gradually mix in cold water, one tablespoon at a time, until the dough forms. It should be moist but not sticky. Divide the dough into two disks, wrap them in plastic, and refrigerate for 30 minutes to firm up the butter, making it easier to roll out later.
- After chilling, roll out the dough on a lightly floured surface to about ¼-inch thickness, aiming for a rectangular shape. Cut the dough into 3×4 inch rectangles using a sharp knife or pizza cutter. Repeat with the second dough disk, ensuring even sizes for assembling the pop tarts. For a fun twist, use a cookie cutter to make mini pop tarts!
- Now it’s time to fill your gluten-free pop tarts! Place a tablespoon of jam in the center of one dough rectangle, leaving the edges clear. Place another rectangle on top, gently press the edges together, and crimp with a fork to seal the filling and create that classic pop tart look.
- Preheat the oven to 375°F (190°C) and line a baking sheet with parchment paper. Place the pop tarts on the sheet and brush the tops with milk for a golden finish. Bake for 20-25 minutes until golden brown, monitoring to avoid over-browning. Once baked, cool completely on a wire rack before glazing.

