Table des matières
It’s (finally!) Christmas cookie season! For me, it’s more than just a tradition – it’s a cherished ritual. I love baking cookies, from the sweet aroma filling the house to the warm memories they bring. And if I ever meet someone who claims they don’t like cookies, I make it my mission to find the cookie that will change their mind. These gluten-free rainbow cookies are, without a doubt, the top tier of bakery treats. They were always the first ones I reached for in the bakery box, and honestly, they’re my favorites. With their almond flavor and chocolate coating, they effortlessly rival the gluten-filled cookies of my childhood.
Looking for more simple Christmas cookie ideas for a holiday platter or cookie exchange? Check out some of my other favorites like Christmas Pinwheel Cookies, Christmas Ornament Cookies.
Why You’ll Love gluten-free rainbow cookies
These colorful, delicious gluten-free rainbow cookies are irresistible, and I’m so excited to share why they’re bound to become one of your go-to treats!
- Holiday Favorites: While they’re often associated with Christmas, their vibrant colors and delicious taste make them a pleasure to enjoy all year round.
- Burst of Flavor: Made with almond paste, these gluten-free rainbow cookies are subtly sweet, with a hint of nutty flavor and a rich chocolate finish. Each bite is a delightful indulgence!
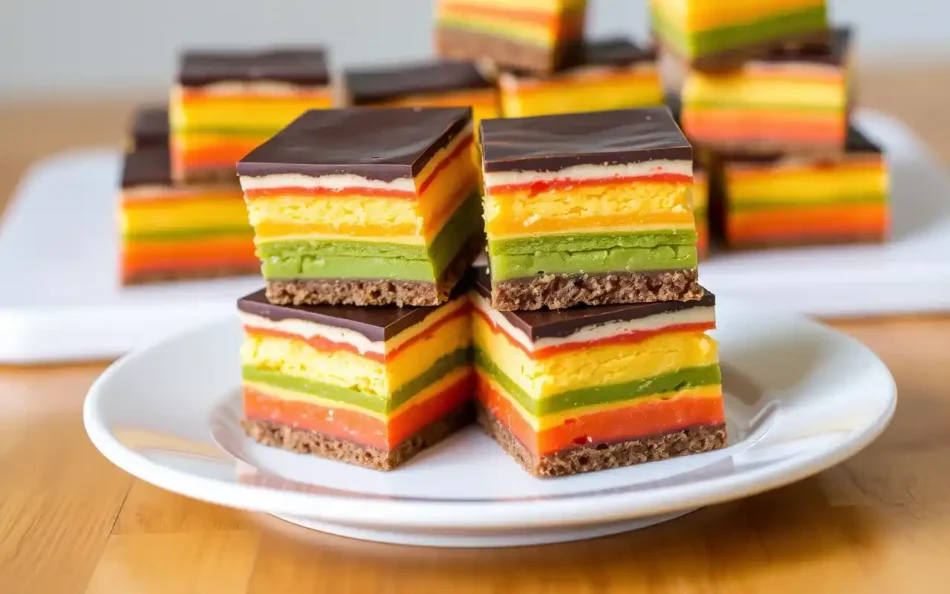
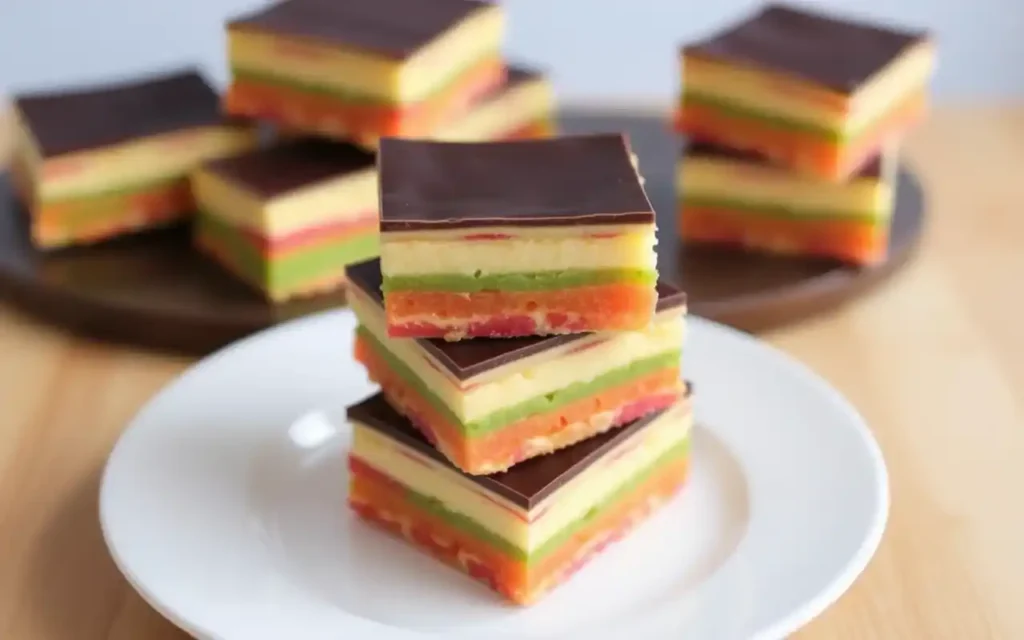
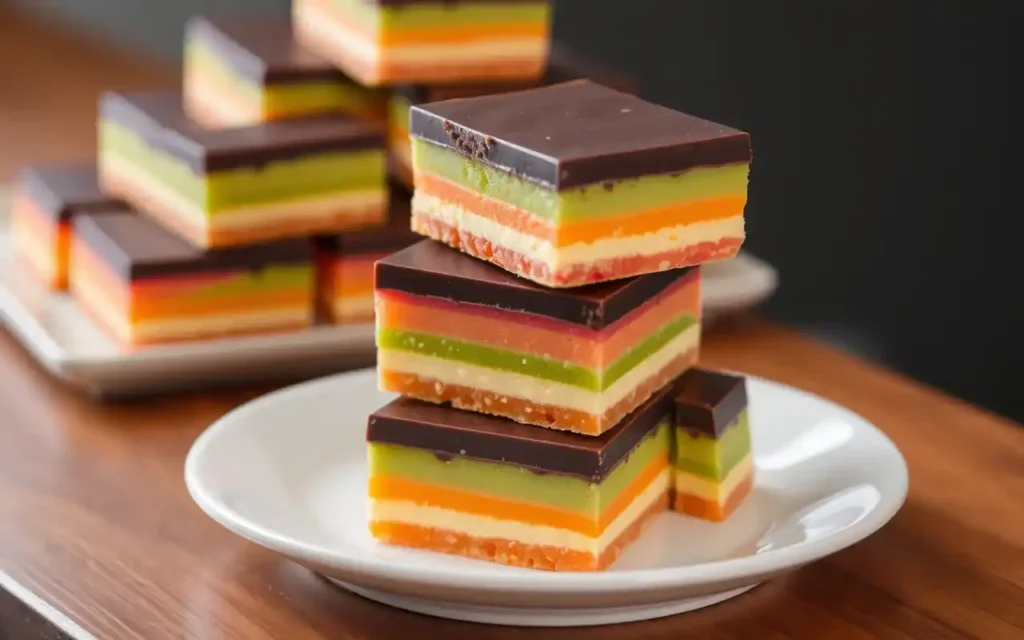
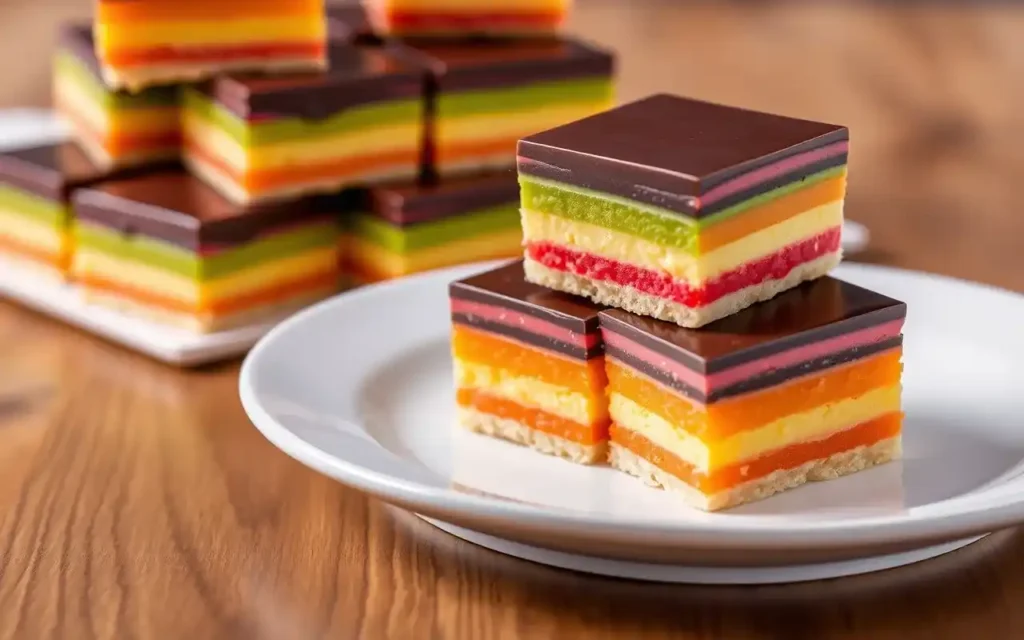
- Vibrant Colors: With their three colorful layers (often red, green, and yellow), these gluten-free rainbow cookies brighten up any dessert table. They’re perfect for adding a festive touch, whether for Christmas, birthdays, or any special occasion.
- Perfect Texture: Soft, moist layers with a thin spread of jam and a chocolate coating – every bite has a delicious balance of textures.
- Naturally Gluten-Free: Using almond flour and gluten-free ingredients, these gluten-free rainbow cookies are ideal for those following a gluten-free diet to enjoy them without a second thought!
- Crowd-Pleasers: These little treats are a hit at parties, family gatherings, or any celebration. Their vibrant look and unique flavor always draw attention and compliments.
- Easily Customizable: Switch up the food coloring or swap out the jam to make them uniquely yours. Get creative to make these cookies one-of-a-kind!
Ingredients for Gluten-Free Rainbow Cookies
For the Cookie Layers:
- 1 ¼ cups almond flour (or blanched almond meal)
- 1 cup sugar
- 1 cup unsalted butter, softened (dairy-free alternative: vegan butter)
- 4 large eggs, separated (yolks and whites)
- 1 tsp pure almond extract
- ½ tsp vanilla extract
- Pinch of salt
- 10-12 drops red food coloring
- 10-12 drops green food coloring
- 2-3 cups gluten-free flour (1-to-1 baking flour works best for structure)
For the Filling:
- ½ cup apricot preserves, strained (or raspberry preserves for a twist)
For the Topping:
- 8 oz dark chocolate, melted (ensure gluten-free certification)
Equipment Needed:
- 3 9×12-inch baking pans
- Parchment paper
- Offset spatula
- Cooling racks
How To Make Gluten-Free Rainbow Cookies
Step 1: Prepare Your Workspace
Before you begin, ensure all your ingredients are at room temperature and that your workspace is set up for efficiency. Preheat your oven to 350°F (175°C) and line the baking pans with parchment paper, allowing a little overhang for easy removal later. You’ll need three separate pans to bake the layers.
Step 2: Beat the Butter and Sugar

In a big mixing bowl, beat the softened butter and sugar together until the mixture becomes smooth, pale, and airy. This will take about 3-4 minutes of beating on medium-high speed. The mixture should be pale and airy, creating a good foundation for your cookie layers.
Step 3: Add the Egg Yolks and Flavorings

Once the butter and sugar are creamed, add the egg yolks, one at a time, mixing well after each addition. Then, add the almond extract, vanilla extract, and a pinch of salt. These extracts give the cookies their signature almond flavor, which is the key to authentic Italian gluten-free rainbow cookies.
Step 4: Incorporate Almond Flour
Gradually mix in the almond flour. This gluten-free flour substitute is essential for both flavor and texture, giving the cookies a rich, nutty undertone. Make sure to scrape down the sides of the bowl to ensure all ingredients are fully incorporated.
Step 5: Whip the Egg Whites

In a separate, clean bowl, whip the egg whites until soft peaks form. This step helps give the cookie layers a light, airy texture. Once whipped, gently fold the egg whites into the batter, being careful not to deflate them. This will ensure your Italian gluten-free rainbow cookies. have the perfect balance of lightness and structure.
Step 6: Divide and Color the Batter
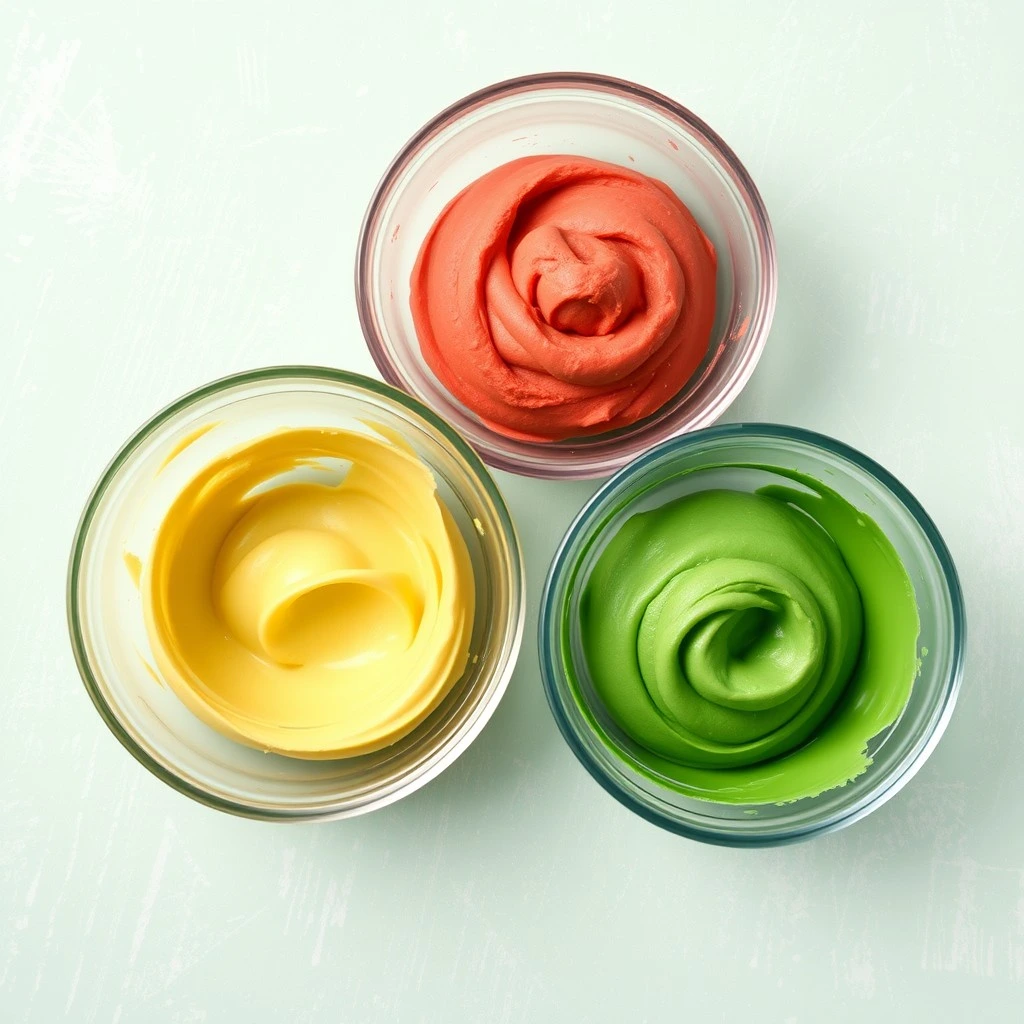
Divide the batter evenly into three bowls. Add red food coloring to one bowl, green food coloring to another, and leave the third bowl plain for the yellow layer. Mix each bowl until the color is fully incorporated. For a more natural option, you can use plant-based food colorings made from beets and spinach.
Step 7: Spread and Bake
Spread each colored batter into the prepared baking pans, smoothing out the tops with an offset spatula. The layers should be about ¼-inch thick. Bake each pan for 10-12 minutes, or until just set. Be careful not to overbake, as you want the layers to remain soft and chewy.
Step 8: Cool and Assemble
Once the layers are baked, allow them to cool completely in their pans. Once cool, gently lift the parchment paper and remove the layers from the pans. Place the green layer on a flat surface, spread a thin layer of strained apricot preserves over the top, and then place the plain yellow layer on top of that. Repeat the process with the red layer on top. Place a sheet of parchment paper on top of the stacked layers and weigh it down with a heavy book or pan. Let the layers set in the fridge for at least 4 hours or overnight.
Step 9: Melt the Chocolate
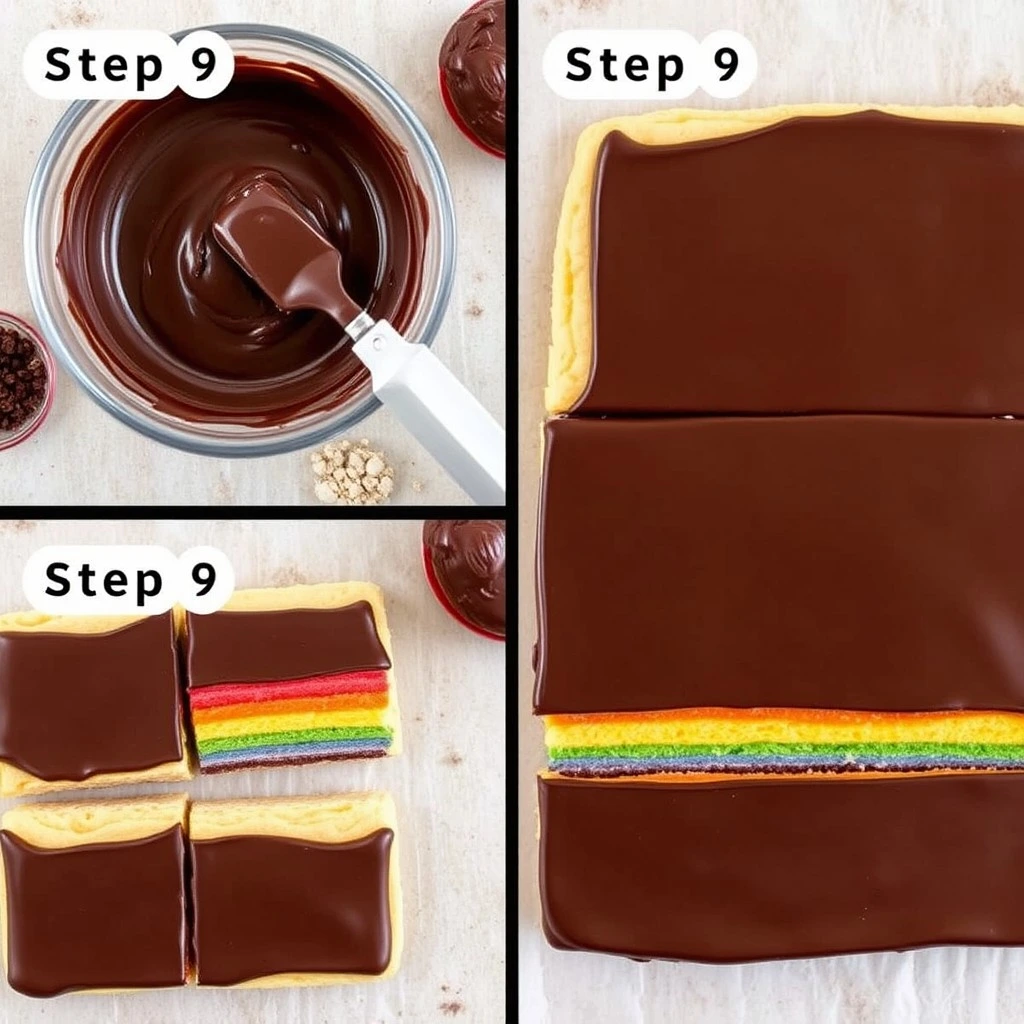
While the layers chill, melt the dark chocolate in a microwave-safe bowl or over a double boiler. Once melted and smooth, let it cool slightly.
Step 10: Coat with Chocolate
Remove the chilled layered cookies from the fridge and spread half of the melted chocolate over the top. Use an offset spatula to smooth it out. Place the layers back in the fridge for 10-15 minutes to set. Once the chocolate is firm, flip the layers over and coat the other side with the remaining chocolate. Chill again until the chocolate is fully set.
Step 11: Slice and Serve
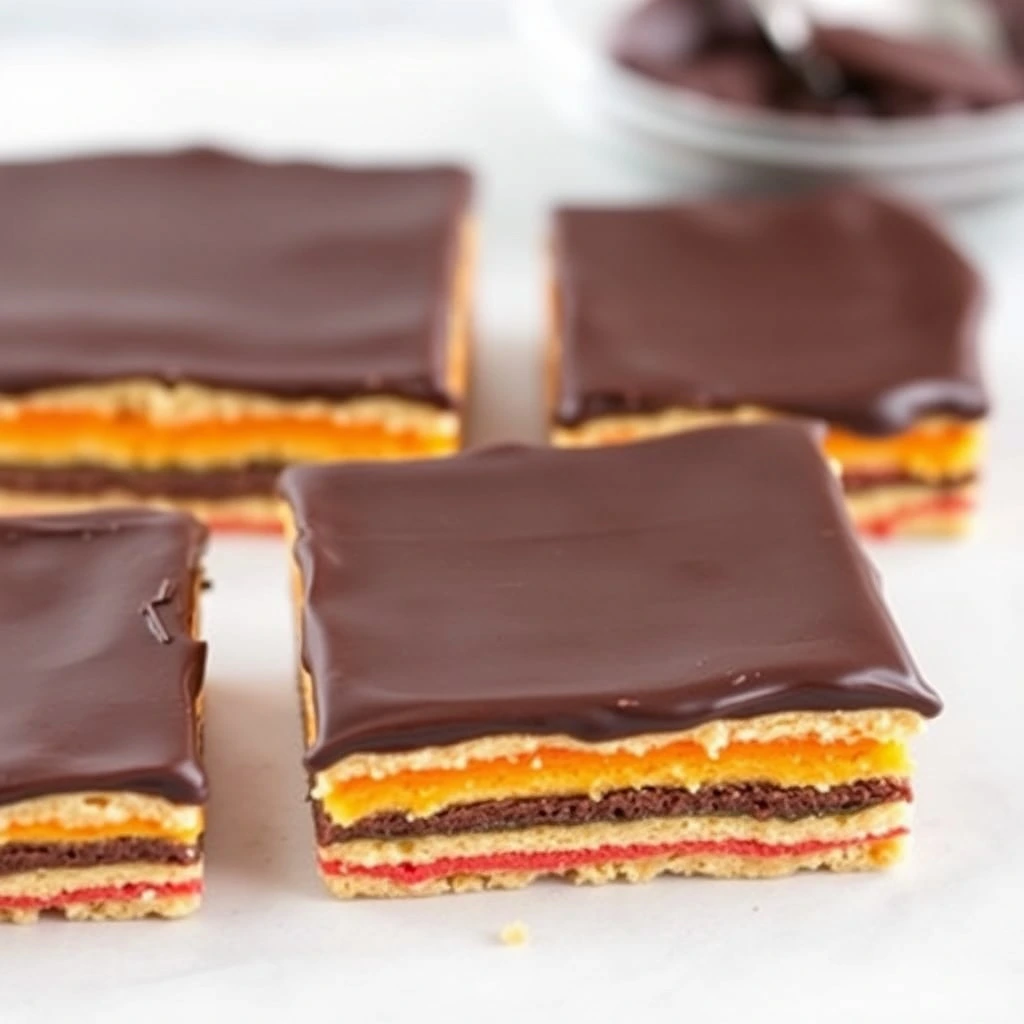
Once the chocolate has hardened, use a sharp knife to trim the edges of the stacked layers to create clean lines. Then, slice the gluten-free rainbow cookies into small squares or rectangles. The vibrant layers will create a beautiful, festive display perfect for any occasion.
Helpful Tips
Here are my top gluten-free baking tips for success! Gluten-free baking can be tricky, but with the right techniques, you’ll make delicious, gluten-free goodies in no time.
- Choose the Right Flour Blend : Not all gluten-free flours are created equal. Use a high-quality gluten-free flour blend that includes a mix of rice flour, potato starch, and tapioca starch. Look for blends that include xanthan gum or guar gum to mimic the elasticity of gluten.
- Measure Carefully :Gluten-free flours can vary in density, so measuring accurately is essential. Use a kitchen scale if possible for the best results, especially with recipes that rely on precise measurements for texture and consistency.
- Add Binders :Without gluten, baked goods can be crumbly. Binders like xanthan gum, guar gum, or psyllium husk help provide structure. Start with one teaspoon of xanthan gum per cup of flour for cookies and cakes.
- Allow the Batter to Rest :Letting gluten-free batter or dough rest for 15-30 minutes allows the flour to absorb the liquid thoroughly, improving texture and preventing graininess. It also gives the binders time to activate, leading to a better rise and crumb.
- Use Room Temperature Ingredients :Gluten-free flours absorb moisture differently. Using room-temperature ingredients helps create a smooth, even batter and avoids clumping, especially when working with eggs and dairy.
With these tips, you’ll be well on your way to gluten-free baking success!
Variations of Gluten-Free Rainbow Cookies
The beauty of rainbow cookies lies in their versatility. While the traditional flavors and colors are iconic, you can easily make these gluten-free rainbow cookies your own by trying some of the following variations:
1. Flavor Variations
- Citrus Twist: Add a tablespoon of lemon or orange zest to the batter for a bright, zesty flavor. You can also swap the almond extract for lemon extract for a completely different take.
- Chocolate Almond: For the chocoholics, you can mix mini chocolate chips into the almond cake batter for an extra burst of chocolate in every bite.
- Hazelnut Rainbow Cookies: Replace almond flour with hazelnut flour for a richer, nuttier flavor. This will give the cookies a unique twist while keeping them gluten-free.
2. Color Variations
- Pastel Rainbow Cookies: Instead of the traditional red, green, and yellow, opt for soft pastel colors like light blue, pink, and lavender. These cookies would be perfect for a spring gathering, Easter, or baby showers.
- Holiday-Themed Rainbow Cookies: You can tailor the colors to fit different holidays. For example, red, white, and blue cookies for the Fourth of July, or orange, brown, and yellow for Thanksgiving.
3. Jam Variations
- Berry Delight: While apricot preserves are traditional, you can switch them out for raspberry, strawberry, or blueberry preserves. Each fruit jam will add a different flavor profile to the cookies.
- Tropical Flavor: For a summer twist, try using mango or pineapple jam. This will bring a bright, tropical flavor to your Italian gluten-free rainbow cookies.
Storage and Reheating Instructions
- Room Temperature: For cookies, muffins, and cakes that don’t contain perishable ingredients like dairy-based frostings, store them in an airtight container at room temperature for up to 3 days.
- Refrigeration: For baked goods with perishable ingredients or to extend freshness, store them in an airtight container in the fridge for up to a week. Keep in mind that refrigeration can sometimes dry out gluten-free goods, so you may want to add a piece of bread in the container to help retain moisture.
- Freezing: Gluten-free baked goods freeze well! Wrap each item individually in plastic wrap, then place them in a freezer-safe container or bag. They’ll stay fresh in the freezer for up to 3 months. Thaw at room temperature or in the fridge when ready to enjoy.
Reheating Instructions
- Microwave: For quick reheating, microwave cookies, muffins, or slices of cake for about 10–15 seconds. This softens and restores the freshness. (Be careful not to overheat, as this can make them tough or dry.)
- Oven: Preheat the oven to 300°F (150°C) and place the baked goods on a baking sheet. Heat for 5–10 minutes, depending on the item, to warm through and revive the texture.
- Toaster Oven: For items like bread, scones, or biscuits, a toaster oven works well. Toast for a few minutes until warmed through.
Frequently Asked Questions (FAQs)
1. Are rainbow cookies gluten-free?
Traditionally, rainbow cookies are not gluten-free because they use wheat flour. However, this recipe uses a combination of almond flour and gluten-free flour to create a delicious, gluten-free alternative.
2. Can I make gluten-free rainbow cookies dairy-free as well?
Yes! Simply replace the butter with a high-quality vegan butter or margarine to make these cookies both gluten-free and dairy-free.
3. How should I store gluten-free rainbow cookies?
These gluten-free rainbow cookies can be stored in an airtight container at room temperature, where they’ll stay fresh for up to 5 days. You can also freeze them for longer storage—just be sure to wrap them tightly in plastic wrap and place them in a freezer-safe container.
Gluten-Free Rainbow Cookies
Equipment
- 3 baking pans (9×12 inches)
- Parchment Paper
- Offset spatula
- Mixing bowls
- Electric mixer (or hand mixer)
- Wire cooling racks
- Pastry brush
- Sharp knife
- Cutting board
- Heavy skillet or canned goods (for pressing the layers)
Ingrédients
- ¼ cups almond flour (or blanched almond meal)
- 1 cup sugar
- 1 cup unsalted butter
- 4 large eggs, separated
- 1 tsp pure almond extract
- ½ tsp vanilla extract
- Pinch of salt
- 10-12 drops red food coloring
- 10-12 drops green food coloring
- 2-3 2-3 cups gluten-free flour (1-to-1 baking flour works best for structure)
- ½ cup apricot preserves, strained
- dark chocolate
Instructions
- Before you begin, ensure all your ingredients are at room temperature and that your workspace is set up for efficiency. Preheat your oven to 350°F (175°C) and line the baking pans with parchment paper, allowing a little overhang for easy removal later. You’ll need three separate pans to bake the layers.
- In a big mixing bowl, beat the softened butter and sugar together until the mixture becomes smooth, pale, and airy. This will take about 3-4 minutes of beating on medium-high speed. The mixture should be pale and airy, creating a good foundation for your cookie layers.
- Once the butter and sugar are creamed, add the egg yolks, one at a time, mixing well after each addition. Then, add the almond extract, vanilla extract, and a pinch of salt. These extracts give the cookies their signature almond flavor, which is the key to authentic Italian gluten-free rainbow cookies.
- Gradually mix in the almond flour. This gluten-free flour substitute is essential for both flavor and texture, giving the cookies a rich, nutty undertone. Make sure to scrape down the sides of the bowl to ensure all ingredients are fully incorporated.
- In a separate, clean bowl, whip the egg whites until soft peaks form. This step helps give the cookie layers a light, airy texture. Once whipped, gently fold the egg whites into the batter, being careful not to deflate them. This will ensure your gluten-free rainbow cookies have the perfect balance of lightness and structure.
- Divide the batter evenly into three bowls. Add red food coloring to one bowl, green food coloring to another, and leave the third bowl plain for the yellow layer. Mix each bowl until the color is fully incorporated. For a more natural option, you can use plant-based food colorings made from beets and spinach.
- Spread each colored batter into the prepared baking pans, smoothing out the tops with an offset spatula. The layers should be about ¼-inch thick. Bake each pan for 10-12 minutes, or until just set. Be careful not to overbake, as you want the layers to remain soft and chewy.
- Once the layers are baked, allow them to cool completely in their pans. Once cool, gently lift the parchment paper and remove the layers from the pans. Place the green layer on a flat surface, spread a thin layer of strained apricot preserves over the top, and then place the plain yellow layer on top of that. Repeat the process with the red layer on top. Place a sheet of parchment paper on top of the stacked layers and weigh it down with a heavy book or pan. Let the layers set in the fridge for at least 4 hours or overnight.
- While the layers chill, melt the dark chocolate in a microwave-safe bowl or over a double boiler. Once melted and smooth, let it cool slightly.
- Remove the chilled layered cookies from the fridge and spread half of the melted chocolate over the top. Use an offset spatula to smooth it out. Place the layers back in the fridge for 10-15 minutes to set. Once the chocolate is firm, flip the layers over and coat the other side with the remaining chocolate. Chill again until the chocolate is fully set.
Notes
Gluten-Free Baking Tips for Success
- Use Fresh Almond Flour: Almond flour can go rancid if stored for too long. Make sure you’re using fresh, finely ground almond flour for the best texture.
- Don’t Overmix the Batter: Overmixing can result in tough cookies, so mix just until the ingredients are combined.
- Chill the Layers: Allowing the cookie layers to chill fully ensures they hold their shape and the flavors meld together.
- Check Your Chocolate: Always check that your chocolate is certified gluten-free. Cross-contamination can sometimes occur in chocolate production.

