The Best Fluffy Pancakes recipe you will fall in love with. Full of tips and tricks to help you make the best pancakes.
Never made a cake roll before? Or tried once and ended up with a total disaster? Don’t worry you’re not alone. Today, we’re going to make the most irresistible Red Velvet Cake Roll you’ve ever seen… and yes, you can do it.
If you’re a fan of red velvet desserts, you might also love my Irresistible Red Velvet Cheesecake Brownies or this Delicious Beetroot Powder Red Velvet Cake both are reader favorites and perfect for any occasion.
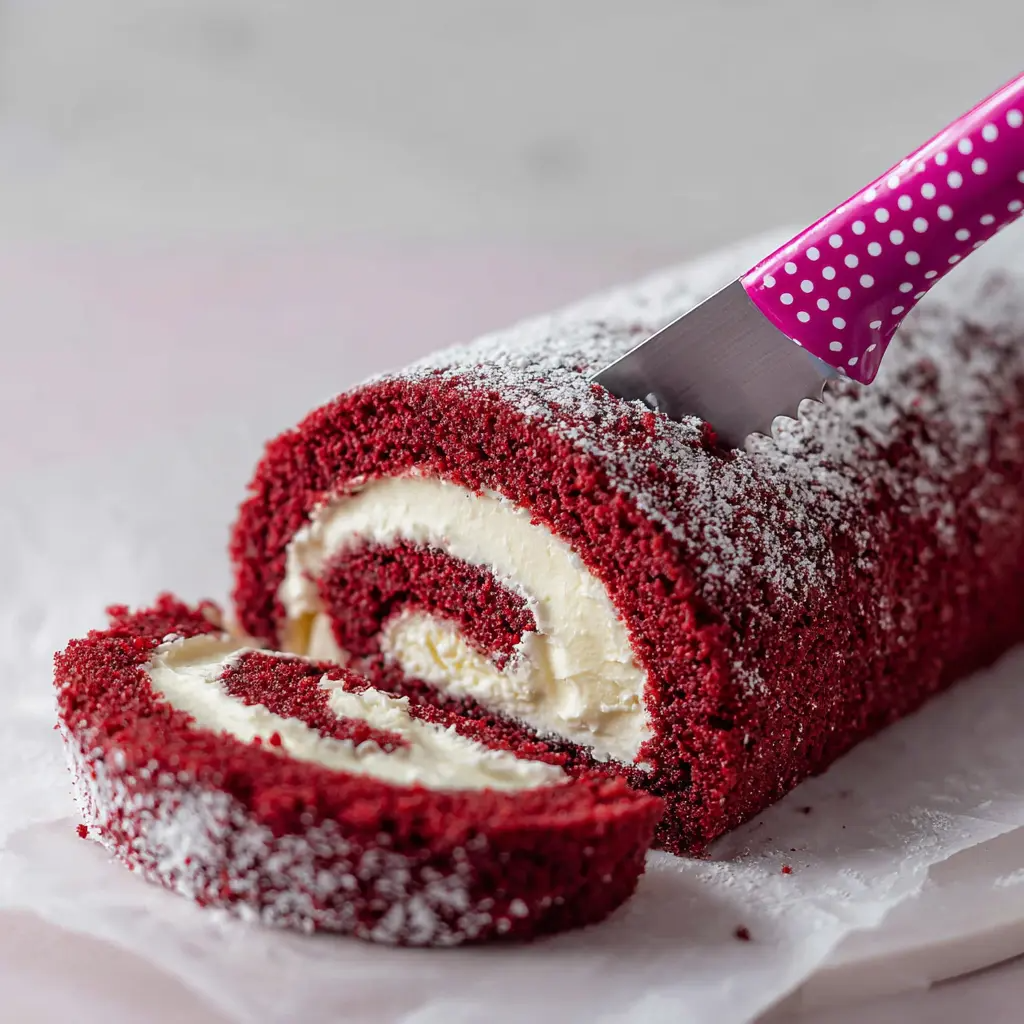
Take a deep breath. Inhale… exhale… because making a cake roll isn’t as scary as it seems. With a little patience and a few simple steps, you’ll soon be slicing into a vibrant red spiral filled with creamy, melt-in-your-mouth goodness. Your dessert table is about to get a serious upgrade.
Why You’ll Love This Red Velvet Cake Roll
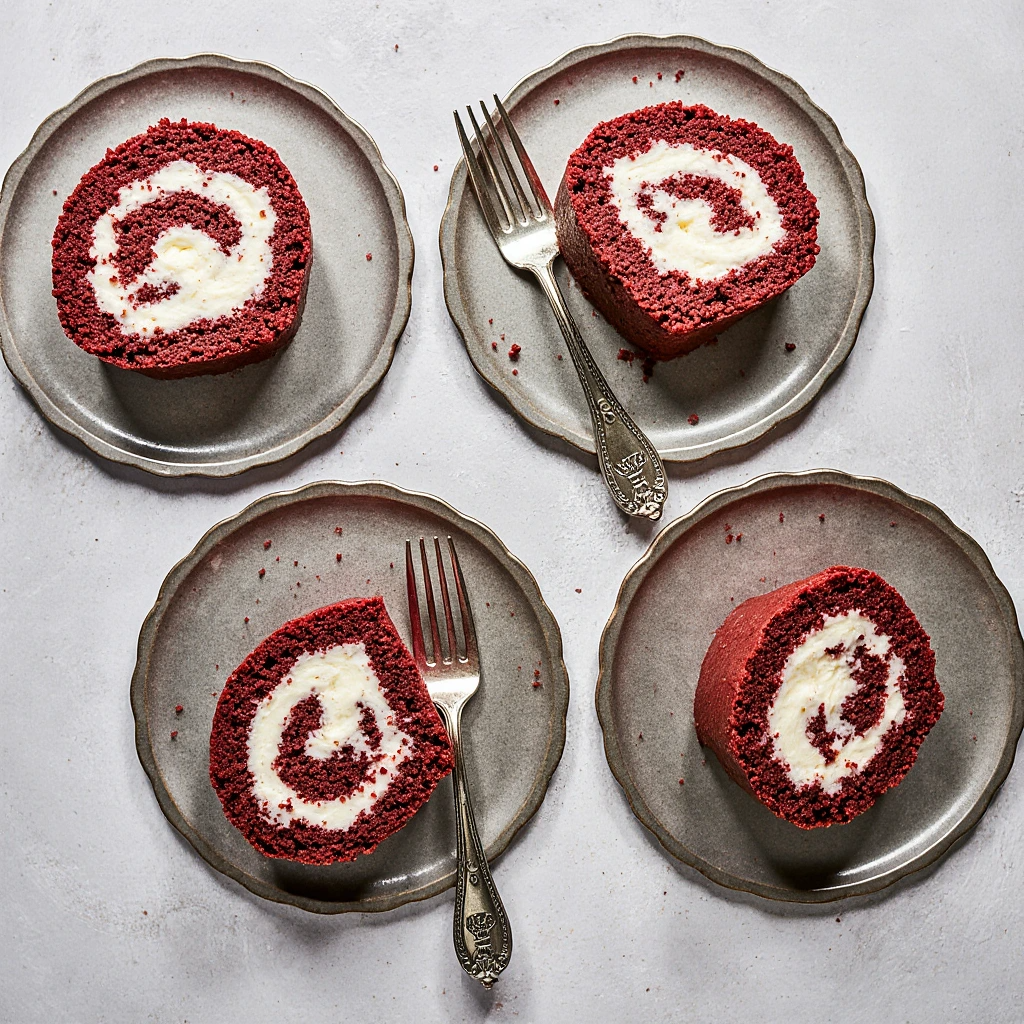
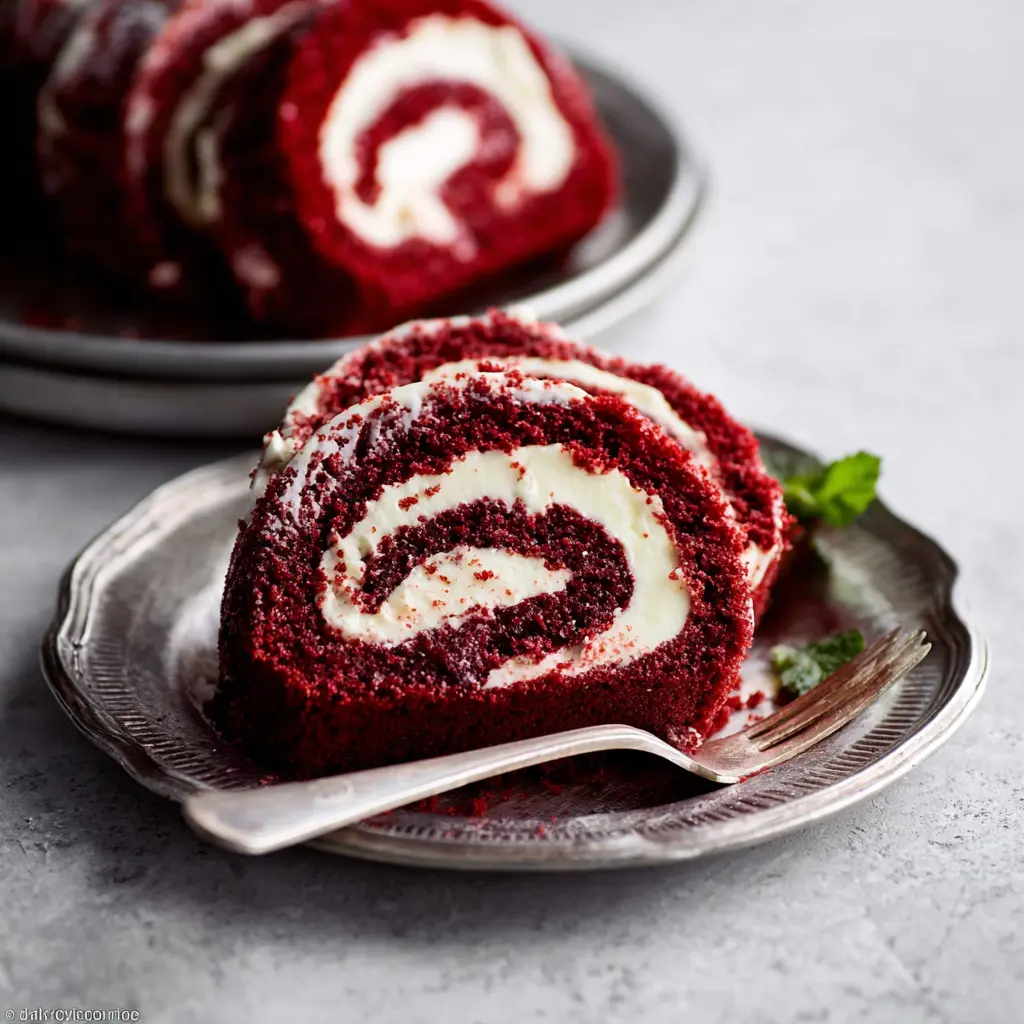
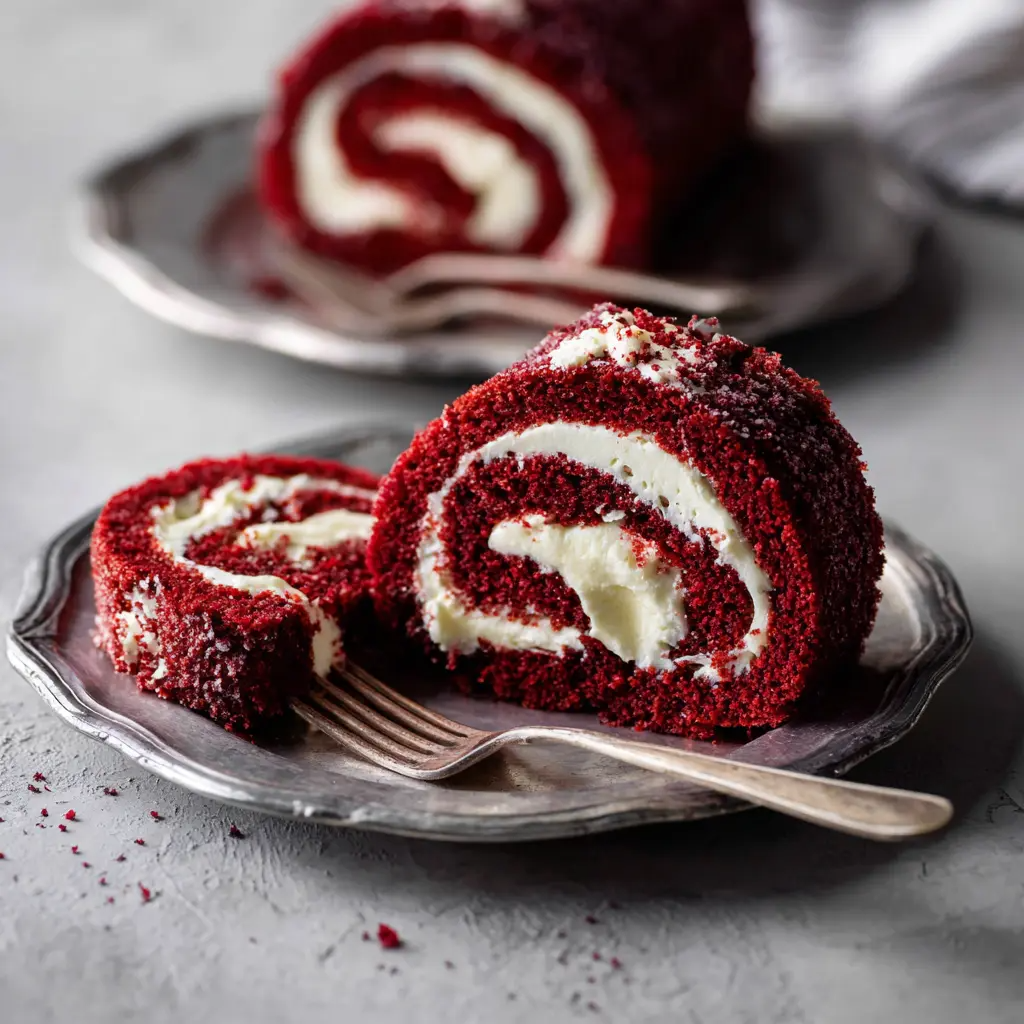
1Eye-Catching Beauty: Just look at that vibrant red color and those perfect swirls! This Red Velvet Cake Roll isn’t just delicious it’s a showstopper. Bring it to any gathering, and you’ll have everyone stopping in their tracks.
2. Irresistible Flavor: Think classic cocoa and vanilla, with a creamy hint of cream cheese in every bite. Sweet, slightly tangy, and utterly divine—your taste buds are in for a treat.
3. Simple to Make: Don’t stress our step-by-step guide makes this Red Velvet Cake Roll surprisingly easy. You can even prep it ahead of time, making it a totally stress-free dessert option.
4. Guaranteed Crowd-Pleaser: Bring it to a family dinner, a holiday party, or any celebration, and watch it disappear. This dessert is one that everyone will love and remember
Ingredients for Red Velvet Cake Roll
Using quality ingredients is key to the success of your Red Velvet Cake Roll. Ensure you have everything you need before starting.
- For the Cake: 3/4 cup (95g) all-purpose flour, 1/4 cup (25g) unsweetened cocoa powder, 1 teaspoon baking powder, 1/4 teaspoon salt, 4 large eggs, at room temperature, 3/4 cup (150g) granulated sugar, 2 teaspoons vanilla extract, 1 teaspoon white vinegar, 1 tablespoon red food coloring
- For the Filling: 1 cup (240ml) heavy cream, 8 oz (226g) cream cheese, softened, 1/2 cup (60g) powdered sugar, 1 teaspoon vanilla extract
How to Make Red Velvet Cake Roll
- Prep the Oven & Pan: Preheat your oven to 350°F (175°C). Grease a 10×15 inch jelly roll pan and line it with parchment paper this will make sure your cake doesn’t stick and rolls up beautifully.
- Mix the Dry Ingredients: In a medium bowl, sift together the flour, cocoa powder, baking powder, and salt. Set it aside.
- Whip the Eggs: In a large mixing bowl, beat the eggs on high speed for about 5 minutes until thick and pale. Gradually add the sugar while continuing to beat until everything is smooth and combined.
- Add the Flavors & Color: Mix in the vanilla extract, white vinegar, and red food coloring on low speed just until blended.
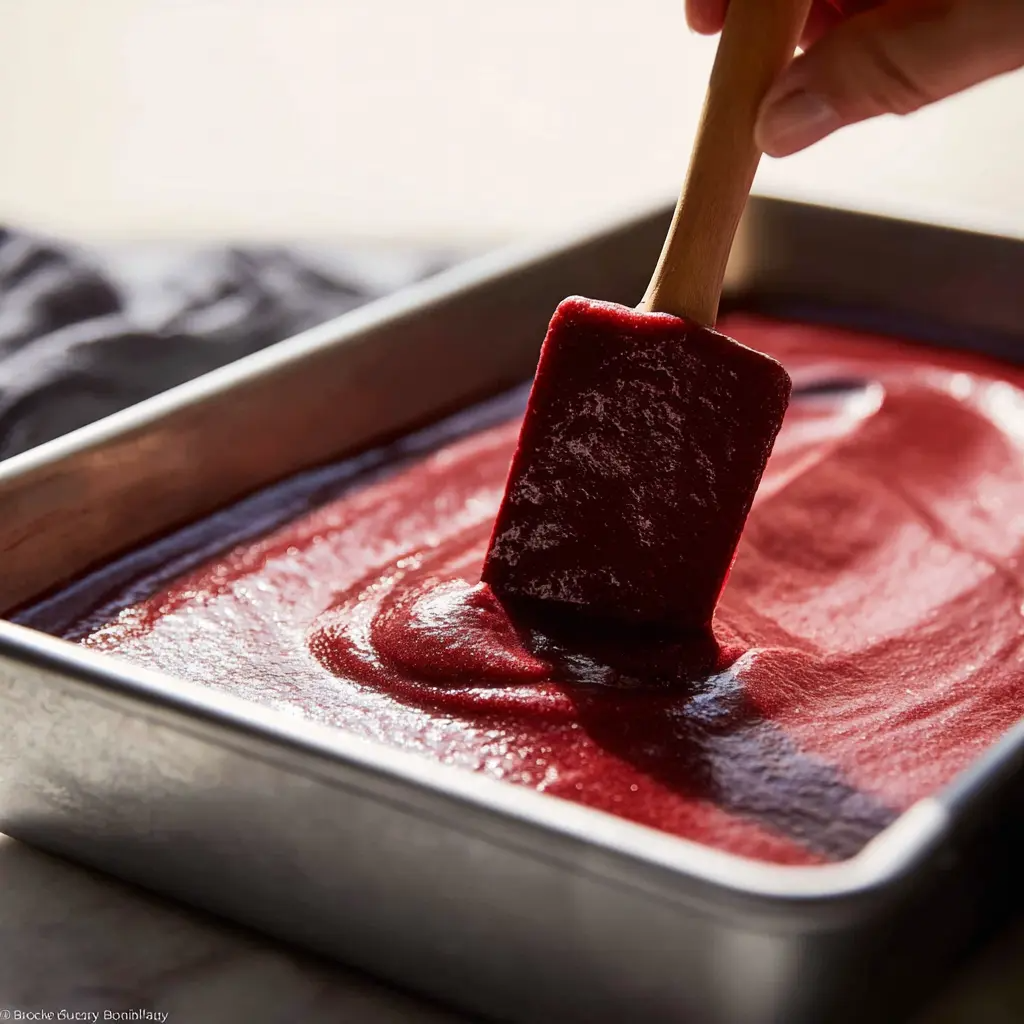
- Combine Wet & Dry: Gently fold the dry ingredients into the egg mixture, being careful not to overmix. Pour the batter into your prepared pan and spread it evenly.
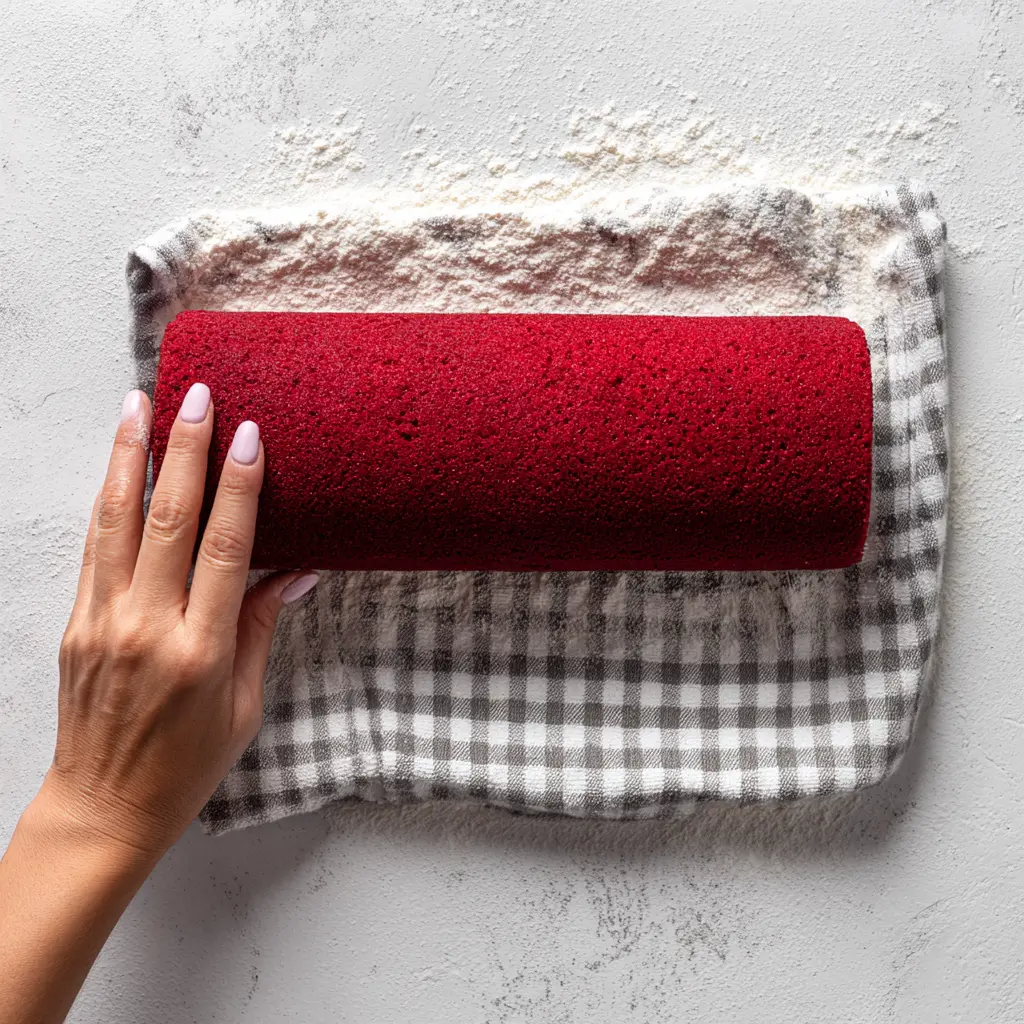
- Bake: Bake for 12–15 minutes, or until the cake springs back when lightly touched. While it’s baking, dust a clean kitchen towel with powdered sugar you’ll need it in a minute!
- Roll the Cake: Once out of the oven, immediately invert the cake onto the towel. Peel off the parchment paper carefully. Starting from one short end, roll the cake with the towel inside and let it cool completely.
- Make the Filling: Beat the heavy cream in a chilled bowl until soft peaks form. In another bowl, beat the cream cheese, powdered sugar, and vanilla extract until smooth. Gently fold the whipped cream into the cream cheese mixture until fully combined.
- Fill & Roll: Unroll your cooled cake and spread the filling evenly. Roll the cake back up without the towel this time, wrap it tightly in plastic wrap, and chill for at least 1 hour.
- Serve: Before serving, trim the ends for a clean look and dust with powdered sugar if you like. Slice, serve, and enjoy your homemade Red Velvet Cake Roll!
Expert Tips for Perfect Red Velvet Cake Roll
1. Bring Ingredients to Room Temperature: Make sure your eggs and cream cheese are at room temperature. This helps everything blend smoothly and adds a little extra air for a lighter, fluffier cake.
Roll While Warm: Rolling the cake while it’s still warm prevents cracks. The towel makes it flexible and absorbs any moisture, giving you that perfect spiral.
Be Gentle When Folding: When adding the dry ingredients to the eggs, fold gently. Overmixing can make your cake dense instead of light and airy.
Chill the Filling: Keep your filling well-chilled before spreading it. It makes it easier to work with and helps it hold its shape once the cake is rolled.
Creative Variations and Substitutions
1. Chocolate Lovers’ Twist: Add 1/4 cup of mini chocolate chips to the filling for an extra chocolatey version. This adds a delightful texture and is perfect for chocolate enthusiasts.
2. Festive Peppermint Filling: Infuse your filling with a few drops of peppermint extract and top with crushed peppermint candies for a holiday baking twist. It’s ideal for Christmas celebrations.
3. Gluten-Free Option: Substitute the all-purpose flour with a 1:1 gluten-free flour blend. Ensure all other ingredients are gluten-free for guests with dietary needs.
4. Nutty Delight: Mix in 1/4 cup of finely chopped pecans into the batter for a nutty texture that pairs beautifully with the classic red velvet flavor.
How to Store and Freeze Red Velvet Cake Roll
Room Temperature Storage: If serving within a few hours, keep the cake roll covered at room temperature. It will stay fresh for up to 2 days.
Refrigerator Storage: For longer storage, wrap the cake roll tightly in plastic wrap and store in the refrigerator for up to 5 days. This keeps the filling firm and the cake moist.
Freezer Storage: To freeze, wrap the cake roll in a layer of plastic wrap followed by aluminum foil. Freeze for up to 2 months. Thaw overnight in the refrigerator before serving.
Reheating/Refreshing: If you prefer a slightly warm cake, let it sit at room temperature for about 30 minutes before serving. Avoid microwaving to prevent the filling from melting.
More Delicious Recipes You’ll Love
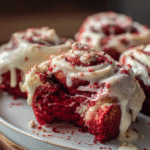
If you loved this recipe, you’ll also enjoy our Red Velvet Cinnamon Rolls , and Heart Shaped Cinnamon Rolls
Frequently Asked Questions About Red Velvet Cake Roll
Why does a cake roll crack?
To prevent cracks, roll the cake while it’s still warm using a kitchen towel. This keeps the sponge flexible as it cools. If small cracks do appear, don’t worry—extra filling works as a delicious “glue.”
Can I make this Red Velvet Cake Roll roll ahead of time?
Yes! This Red Velvet Cake Roll can be prepared a day in advance. Wrap it tightly and store it in the refrigerator. Chilling actually helps the flavors develop and makes slicing easier.
How can I get that perfect red color?
Gel food coloring is the best option for a vibrant red shade. It’s more concentrated than liquid coloring, so you get bold color without affecting the batter’s texture.
Can I use a different filling?
Absolutely. Buttercream, mascarpone, or even a light whipped cream all work beautifully. Feel free to customize the filling to match your taste.
Is this recipe gluten-free friendly?
Yes! Simply replace the flour with a gluten-free flour blend. Just make sure all your other ingredients are also certified gluten-free.